The plaid was meant to be an 1860's dress; however, the seller that sold it to me informed me it was 100% wool. My fingers told a different story and the burn test confirmed it - I wasn't even sure it had wool, let alone being 100% wool. It wasn't until I pulled the fabric across the grain (rather than cutting through 3 yards of fabric to get a decent hem on the skirt) that I could smell the wool. So, it has wool, but it's no where near 100%.
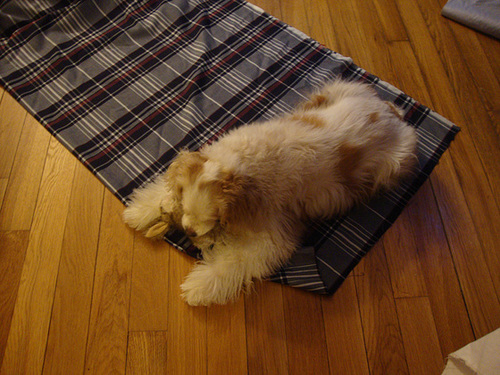
Before cutting, I place the fabric out on the floor. I turned around to get the pattern I drafted a couple of years ago plus the pins. When I turned back, this is what I saw:

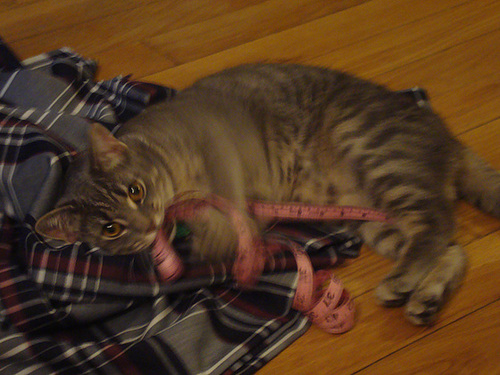
The same thing happened later when only the skirt part the fabric was on the floor:

So, the fabric may not be period but it is animal approved! Yay!
My inspirations for the dress included:
The pink 1840's I posted a few weeks ago in my other blog
This 1840's bodice
And this dress I have yet to post that is up at Augusta Auctions
I loved the idea of a gathered top rather than a pleated top but with the pleated waist still, as in the last dress. I thought that might be a bit easier since you don't need to make the top quite as smooth looking. I added about 3" to the center front, placing the pattern piece for the front about an 1 1/2" from the fold, and cut it that way. I then cut the lining on the fold exactly as the pattern piece looked. Using the lining as a guide, I gathered and pinned the bodice fronts together. Once that was gathered to the same width as the lining, I sewed them together, flipped the fabric over and pinned the pleats in place while having the sided pinned. To keep the bodice looking neat, I used gray thread to keep the pleats in place, along the gray or white lines of the plaid. I stitched through the sides, attaching the side fronts at the same time - thus keeping the front puff in place and looking neat.

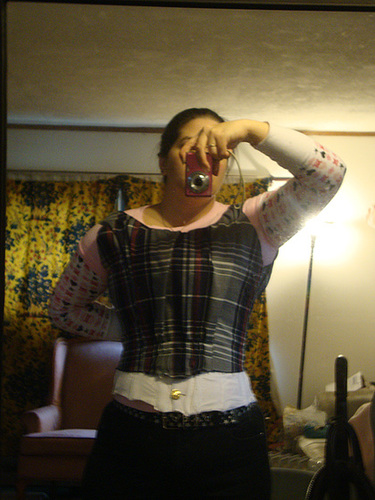
This is the bodice, once I finished it, over my corset. I really was shocked at how well it came together. Later on, I added the sleeves and added a bit of self tape along the bottom edge of the bodice. The skirt was attached to the inside of the bodice - which was actually easier than trying to measure it and pin it to just the fashion fabric and then encase all the unsightly seams in the lining.

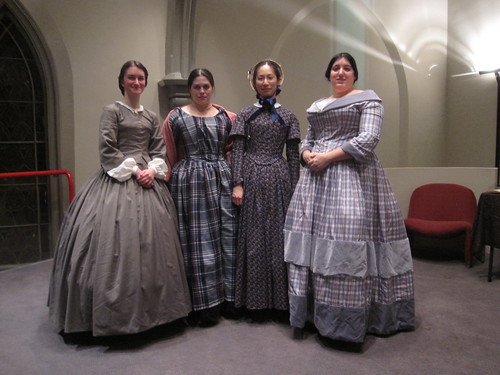
The finished dress! Not bad for only three hours on a Saturday, if I do say so myself. ;-) For once, I have an 1840's I don't want to immediately throw away! Yay! I'd like to put some sort of busk or something in the front and sew down the very front waist point but that's about all the dress really needs. A very minor edit compared to some of the stuff in the past.
No comments:
Post a Comment