Tuesday, January 7, 2025

Madder Dye


I've had this jar of dried madder for probably three years now, at least.  It may be longer than that.  I've read that old madder won't dye and I've also read that old madder gives the best reds.   I figured I could sacrifice some of the yarn I have and see what I end up with.


This time, I dyed three wools and two linens.  One of the wools and the natural linen were given an iron mordant and the others were all dunked into the alum mordant.  I wanted to see if it would give me different shades or even different colors.   For the iron, I just used old SOS pads that had rusted.   I keep them in a small bowl after I do the dishes.   


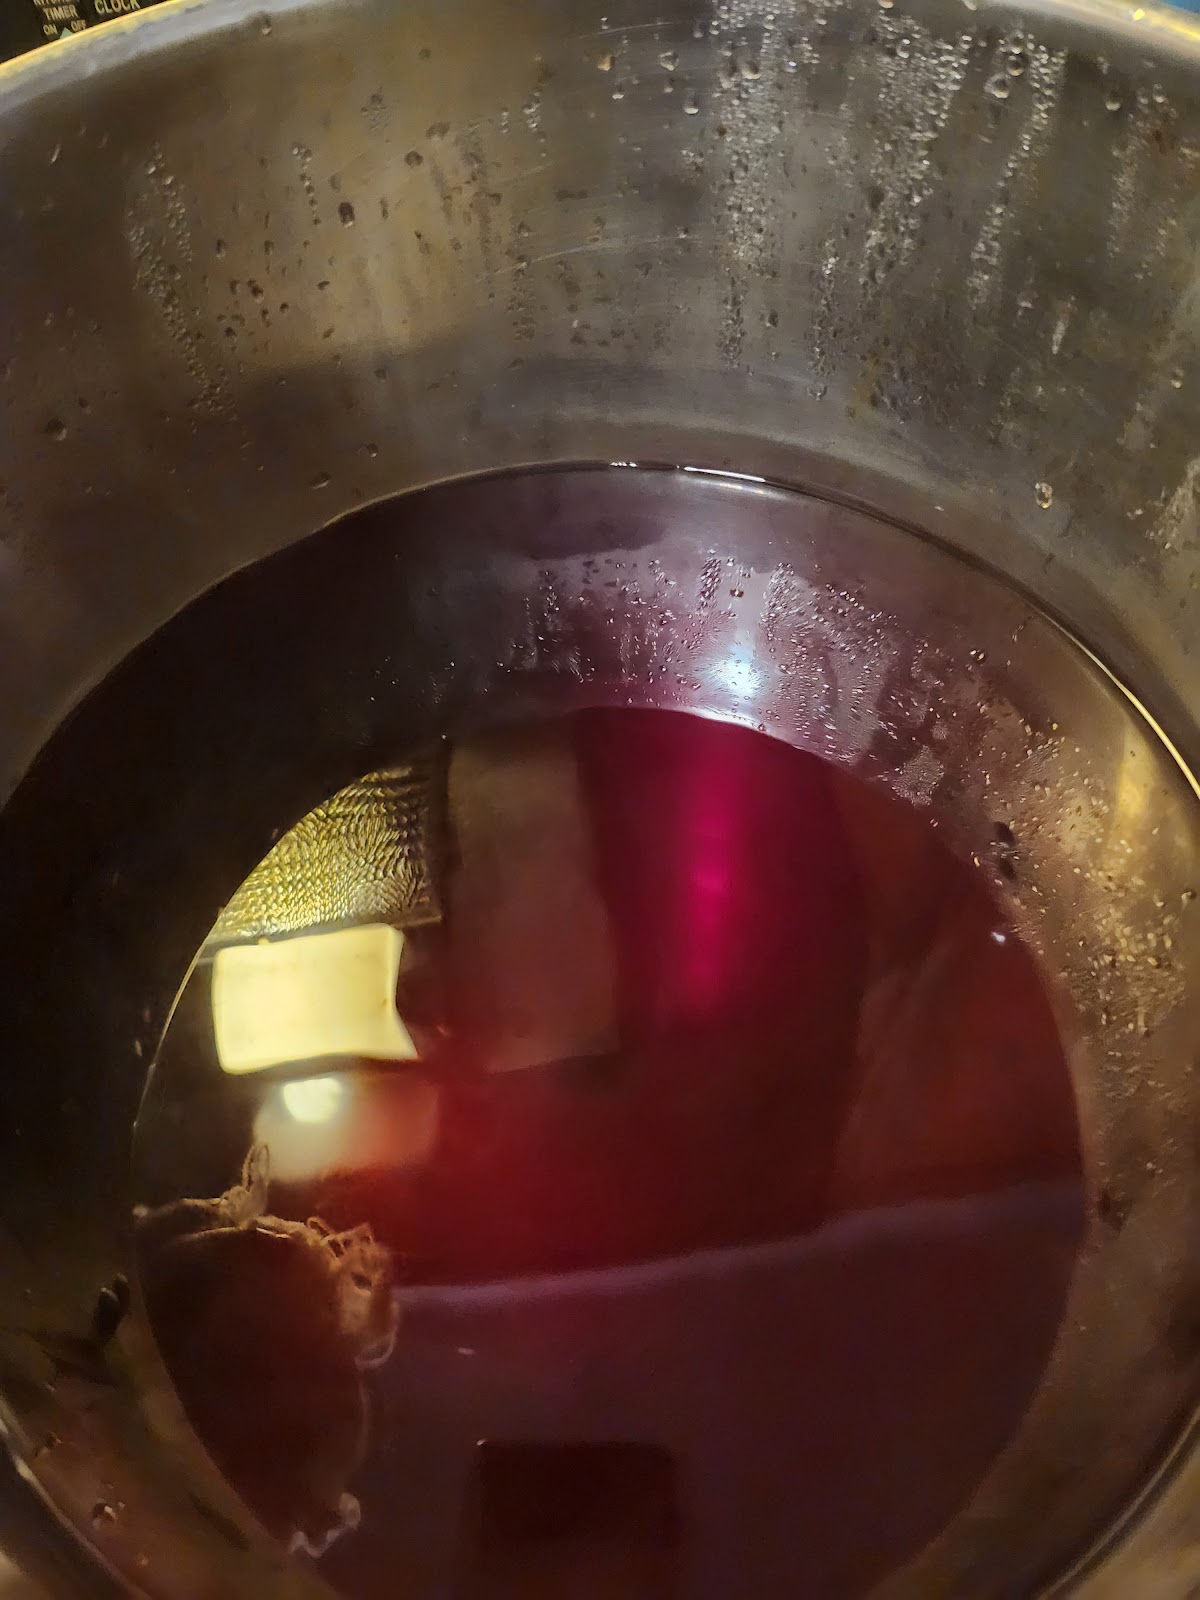
The dye pot once again looks like spaghetti.  I had the water and white vinegar mix at 70°C before I turned the gas off the stove.  I just left the lid on the pot and waited for three hours to see what colors I might get.   


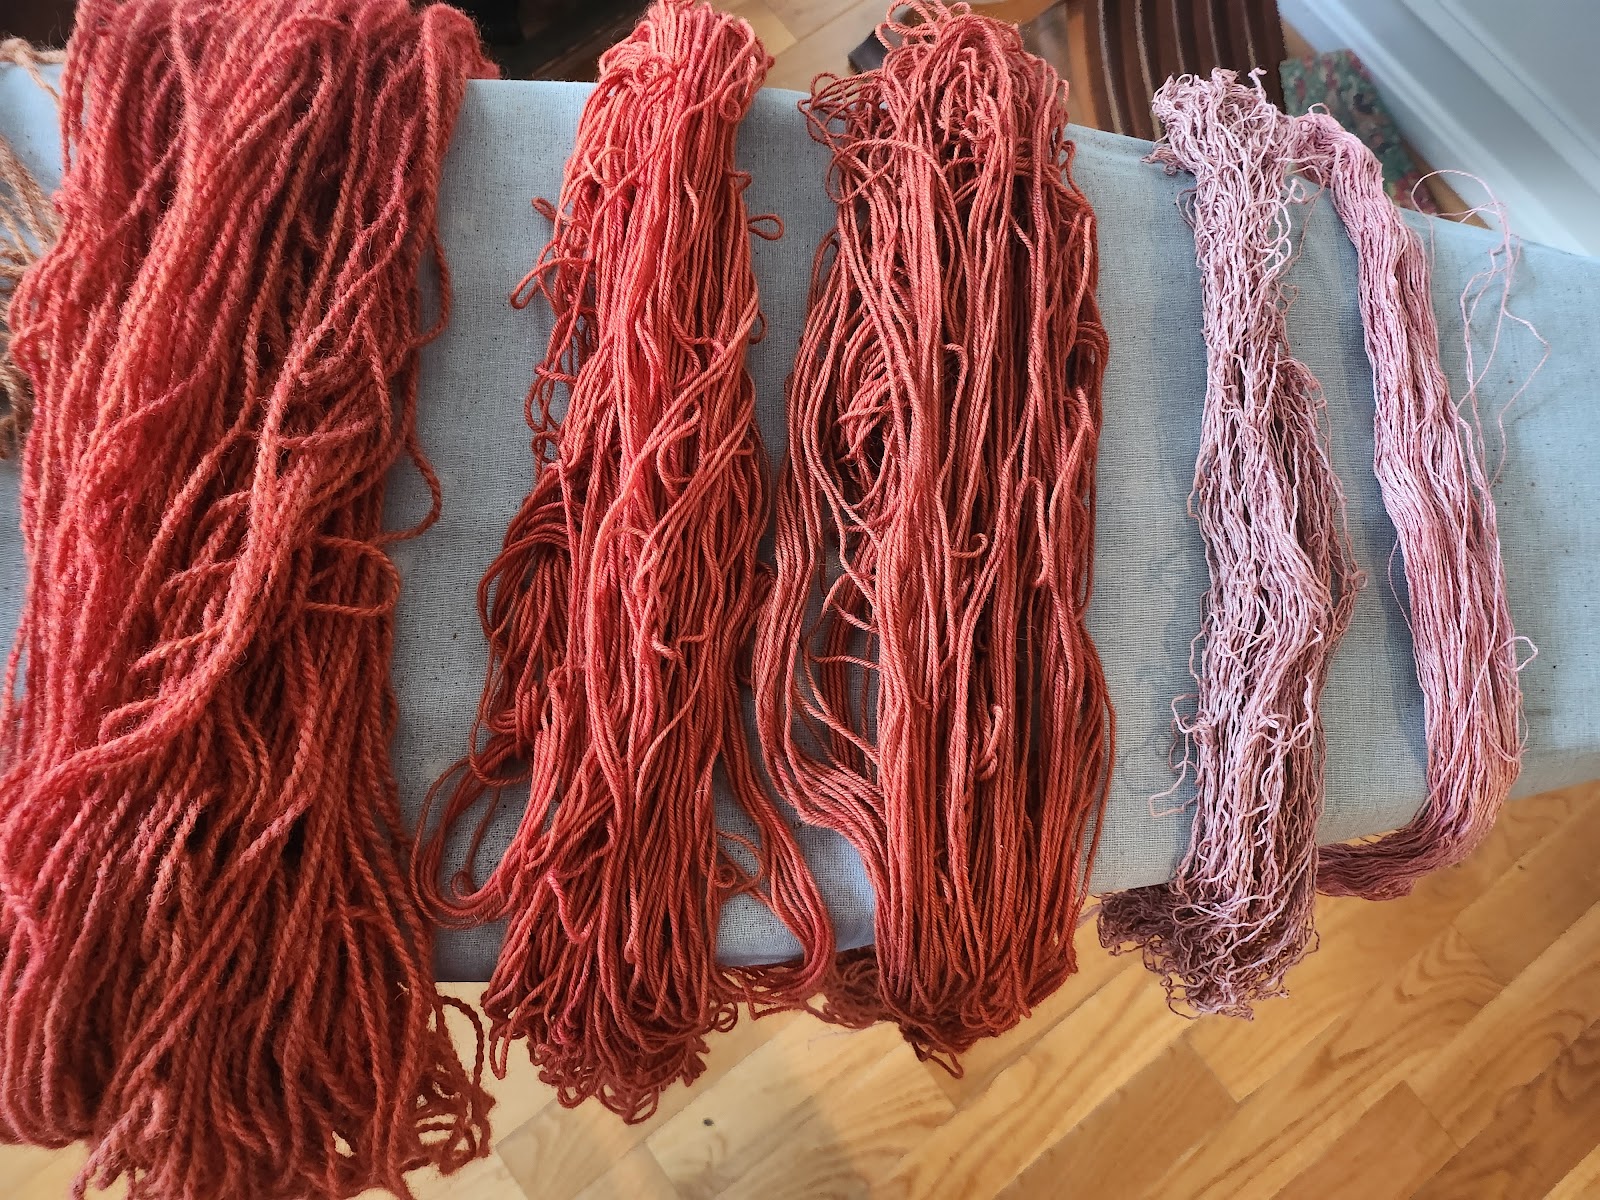
This is just the wools after I rinsed them. They looked very, very Christmas red and Turkey Red!   The linens didn't have much color so I left them overnight.   I'm so glad I did.   I also overdyed the onion skin wool that wasn't as bright as the others.  


From left to right, madder with alum, madder with alum, madder with iron, linen madder with iron, and linen madder with alum.  I need to show a close up of the linens because they are fabulous pinks!!!


This is more true to the color in person.  The natural linen with an iron mordant came out a nice mauve and the bleached linen with an alum mordant came out petal pink!   I'm really happy with the way those came out.


All the yarns I've dyed this week!   There is the two linens with the onion skin dye, one wool with the onion skin dye, the wool I originally dyed with onion skin and then overdyed with madder, plus all the madder yarns!   I'm not in love with the overdye.  It looks more burnt siena in person than the flesh tone it shows here.  However, I think it will go really well with some of the other yarns I have as a secondary color.   

Besides, getting pink on linen really is the best part of all this experiment!

Thursday, January 2, 2025

Onion dye!

 I'm going to try and restart this blogging thing.  My first finished crafty thing of the year is dyeing with yellow onion skins!   I've seen some pretty amazing oranges when other people have tried it and figured I'd give it a go myself.  

My local grocery store isn't the best at cleaning the produce stands, which is lucky for me.  I'd go there, buy an onion and fill the plastic bag they had with the one onion and as much of the loose onion skins lying on the table as possible.  After a few weeks of just going in and buying an onion when I needed it for dinner plus a bag of loose onion skins, I had enough to dye with.   


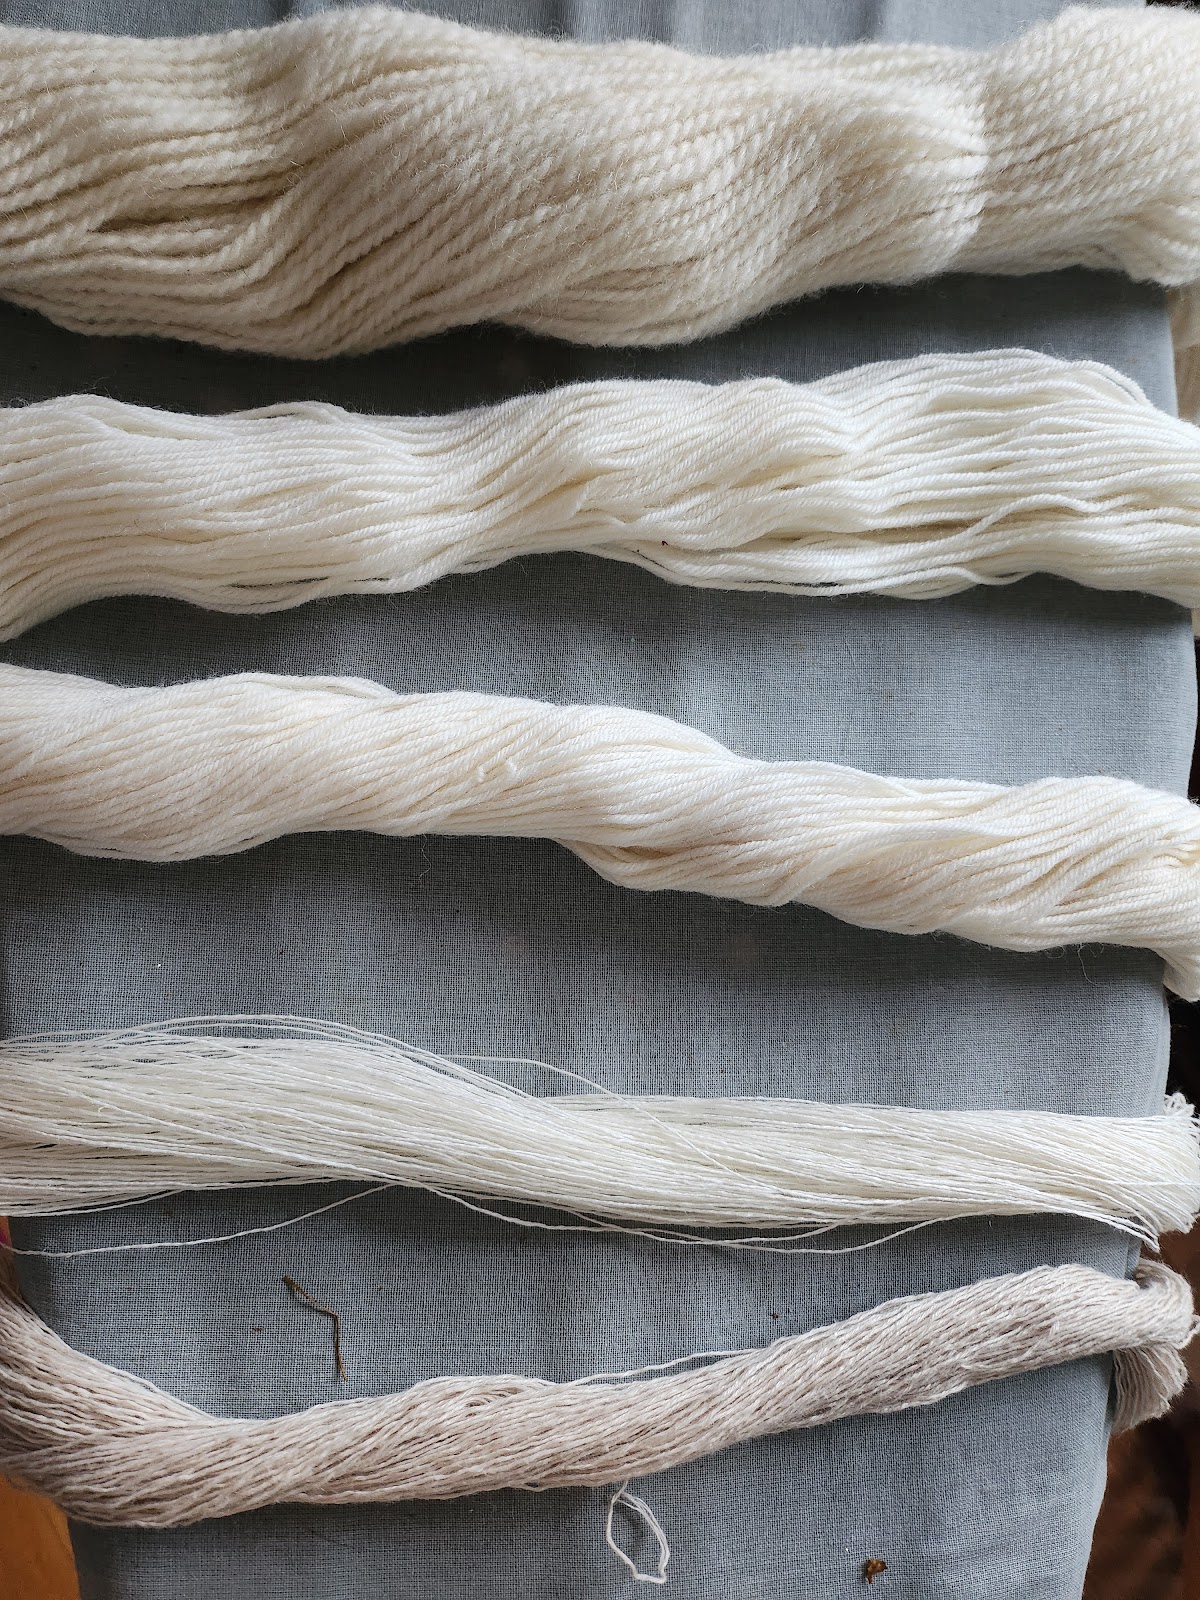
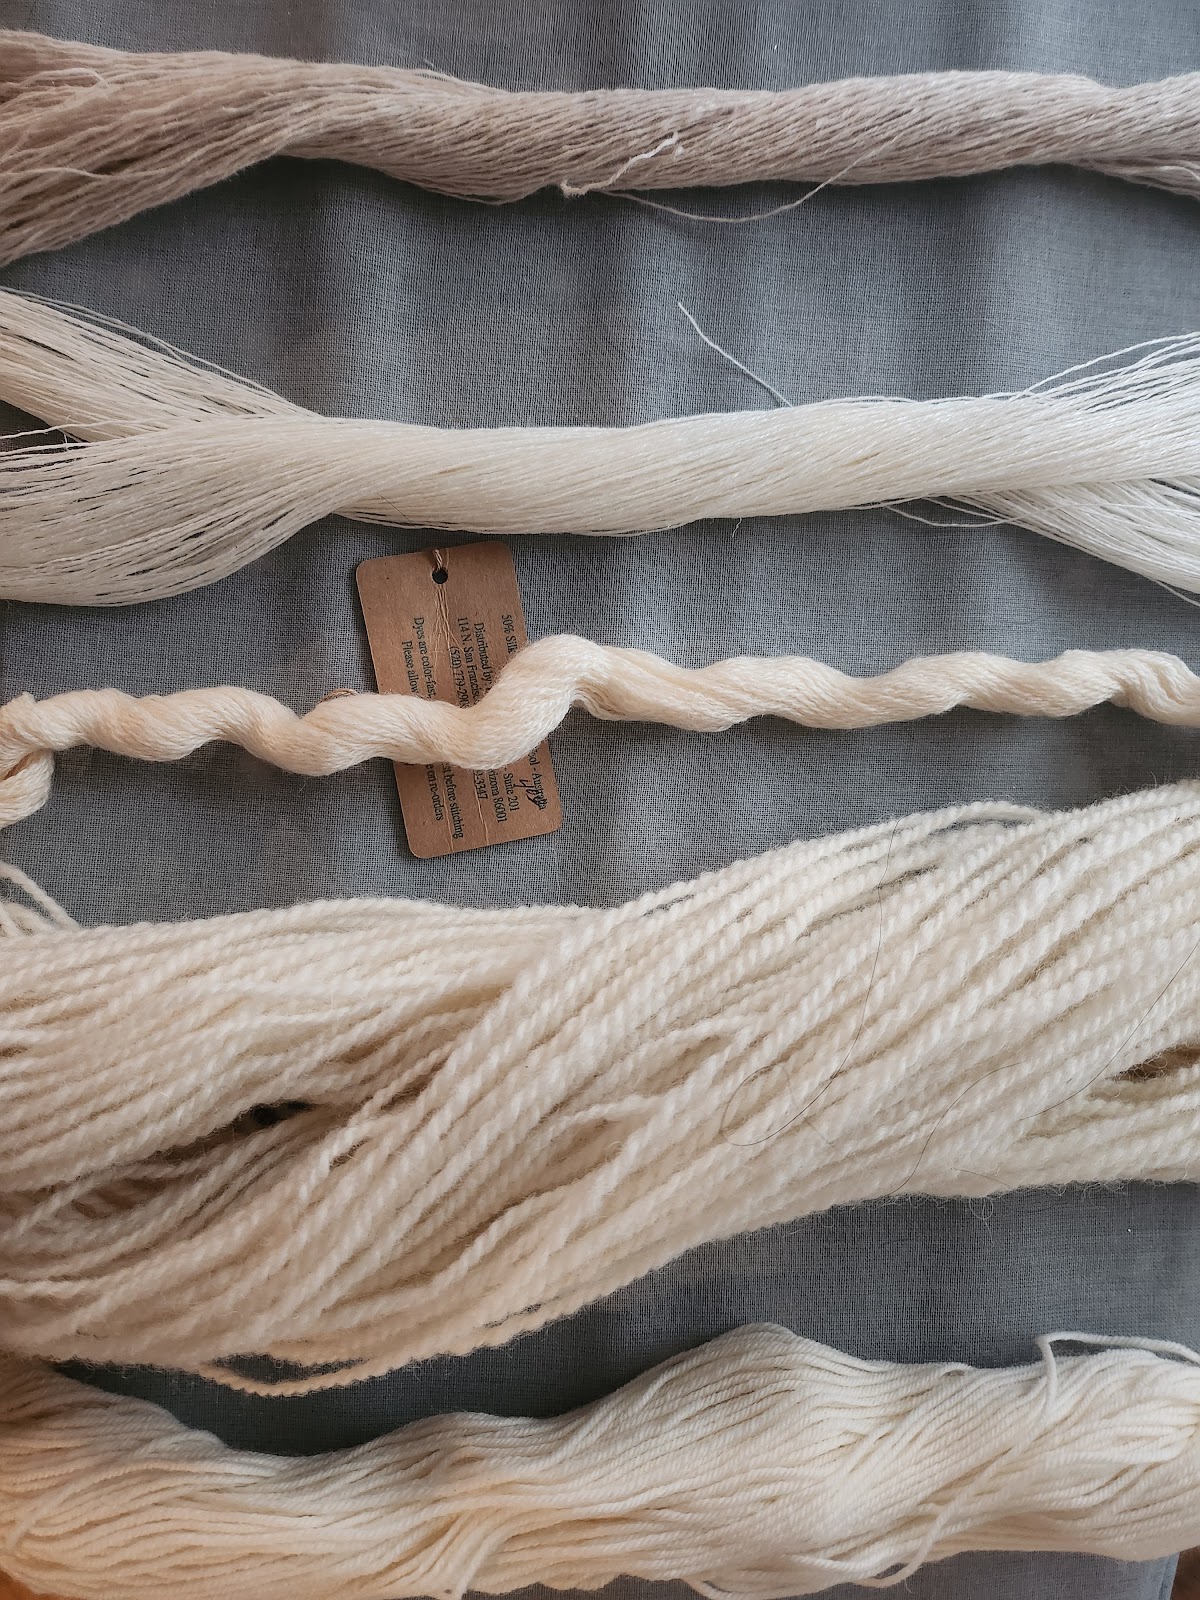
Above are the experimental yarns for dyeing.  The top is natural undyed linen, the second is bleached linen, the middle is a silk and wool blend that I ended up not dyeing, and the last two are wools.  I have no idea where the silk and wool blend ended up.  I went from the dining room to the kitchen and it disappeared.  Likely, I took it with me when I went downstairs to let the pup out and put it down somewhere there.   I'll find it eventually but, because I lost it, it did not get dyed.


I filled my dye pot about half way with water and then threw four bags of onion skins in.   This was the look.  I then turned the stove on and heated the water until it was just steamy, followed by leaving it on low for about an hour.

This was the result after an hour.  I turned the stove off and then put the lid on the pot to leave it for a bit longer. During this time, I put the yarns into a bowl with alum and water to get them ready to dye.   I had washed the yarns earlier to get rid of any oils.  One yarn smelled heavily of sheep after that.  

Two hours after adding the onion skins, I took the skins out of the dye pot.  I just used my basket colander scoop the skins out and throw them away.  I missed a couple of skins but it got most of them out without the need for two different pots.  The dye looked to be a very lovely red when I finished but, really, as you will see, it becomes very, very orange!


The dye pot with the yarn looks like some sort of weird spaghetti.  I let the yarns soak in the pot for about an hour and then heated it back up gently for five minutes (just until there was steam) before leaving them for another half hour.


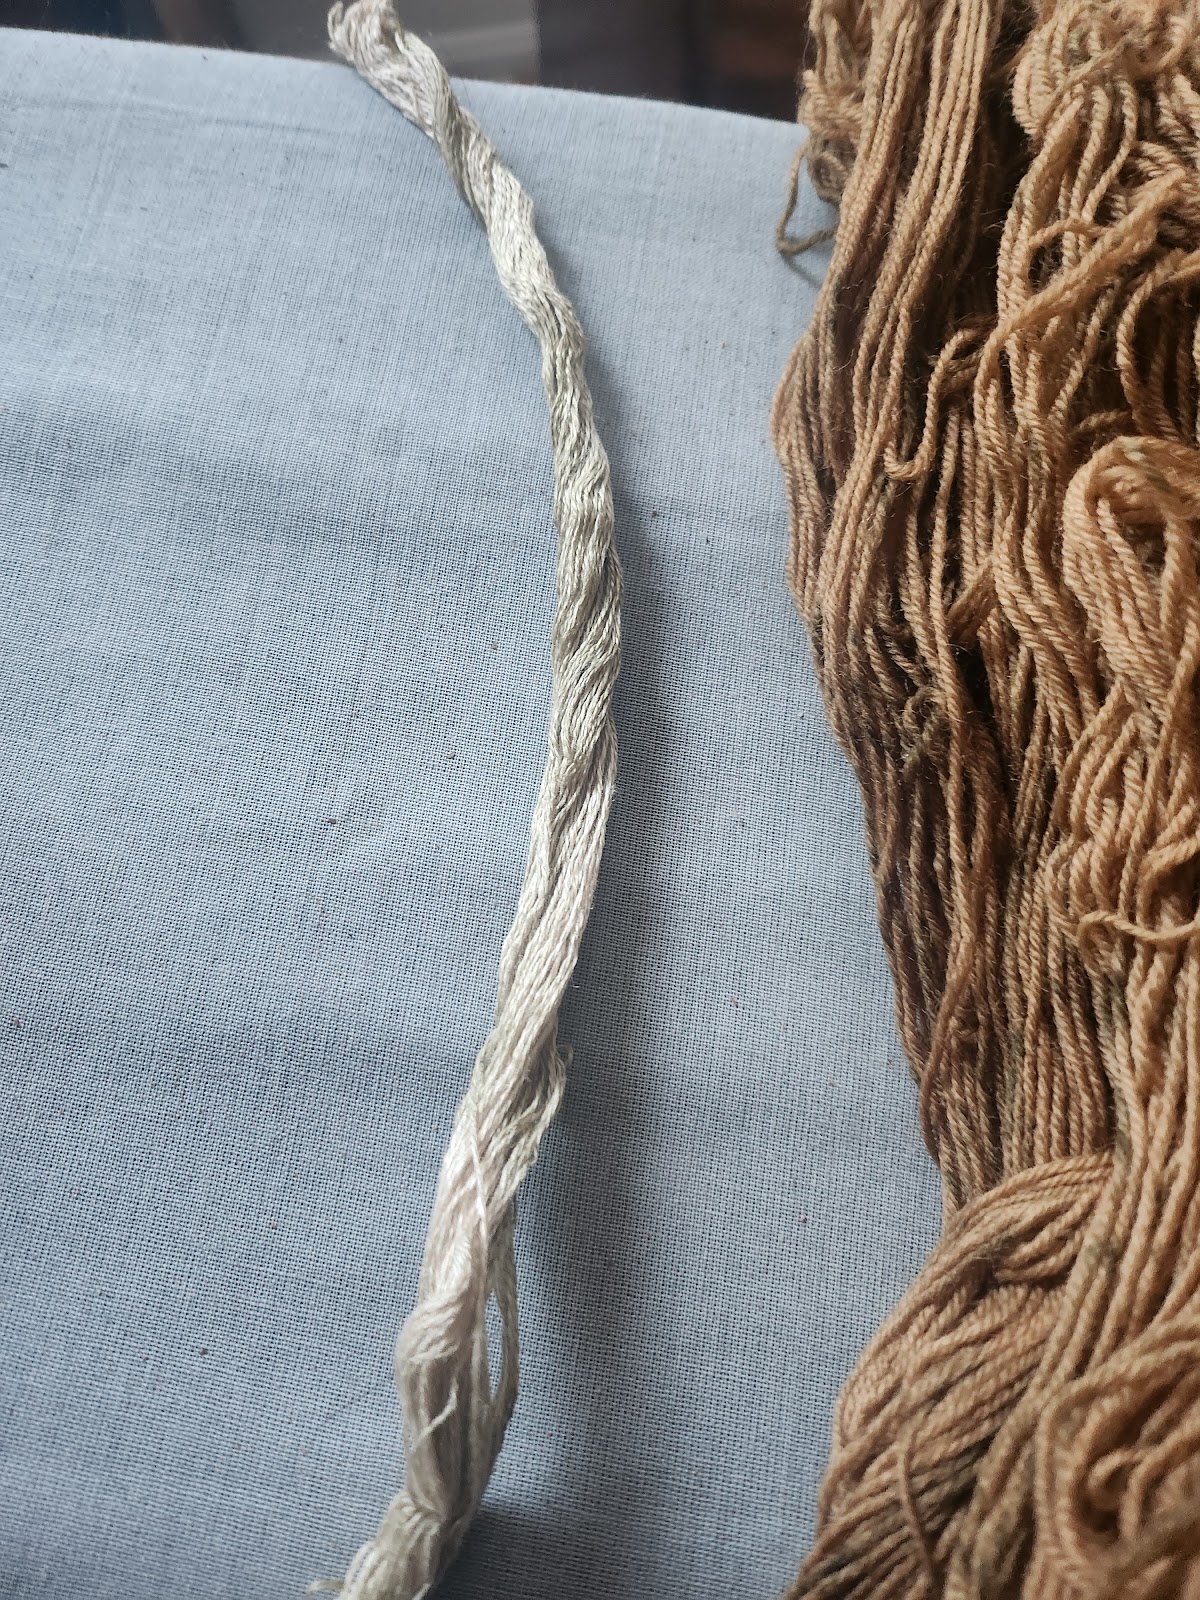
The final colors!   I will add a picture when they are completely dry (this was just the plastic box to carrier them to a place where they could dry!) but I wanted to show the good oranges I did end up with.   The linen dyed exceptionally well!  It's the wool that is the paler of the yarns.   I don't think I got all the lanolin out of it which might be part of the problem.  Still, not a bad color. 

I did rinse the yarns in cold water before I took the photo.  


The color is a bit more yellow now that it has dried.  In person, it is a very lovely goldenrod color for each of the yarns.  The brightest is the bleached linen - second from the bottom.  The very bottom of the photo is the natural linen.  The top is the wool I'm not sure I got all the lanolin out of which might have affected how well the dye took to it.  

Of these, I'm going to overdye the top and bottom yarns in the photo with madder or another red at some point.