Wednesday, July 31, 2013

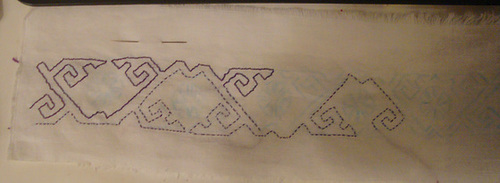
Embroidery Project Day 2

DSC03542

I cannot sew in a straight line. Thank goodness this will be around my neck and no one will know that it was supposed to be in a straight line. ;-)

Probably should put up last week's Historical Fortnightly post but...

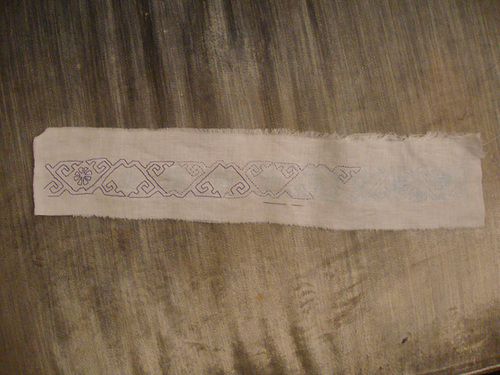
DSC03541

My current embroidery project. This is what I've done thus far today. The design is based off of one from a portrait done in the 1520's. :-)

Sunday, July 28, 2013

No Pennsic - working on other stuff

I'm not at Pennsic due to sudden changes in plans. I really REALLY wish I was there but it's just not possible right now. Seriously, I would LOVE to be there.

Since I can't be, I've been working on other things - such as my homepage. I've had the http://www.strawberriesncreame.com for about a decade. I haven't done anything with it since 2007 or so. I sort of left it to die, really.

However, this past Friday, I worked on it, did up some new graphics, and revamped the entire thing. Feel free to take a look and tell me what you think. It's not perfect yet but I've gotten it into "alive" condition. :-)

I'm currently finishing up or reworking about six different outfits. Pictures when I'm done with them - hopefully tomorrow!

Tuesday, July 23, 2013

Progress!


The Vampire Dress!   I threw the veil over the headless, broken, dress dummy just to show the color contrast.   I'll do a full write up for the Historical Fortnightly (Doctor Who is historical!  ...Yeah, I know.  But this dress actually does follow the lines of the back lacing 1580's gowns enough that I can easily wear it again without the blue veil.)   The sleeves are pinned on in the photo - I'll add lacing rings tomorrow.  The insides are not sewn up yet.  My dress dummy is broken and doesn't have hips which is why it looks very long waisted.  It's not.  

More pictures tomorrow when it's completely done - I just wanted photographic evidence that it was in dress form before midnight...although it's after midnight now when I'm posting.  ;-)

Eh, it works.

This will be so much fun to walk in for opening ceremonies on Saturday!

Saturday, July 20, 2013

Challenge Accepted!

I'm going to Pennsic in about a week (OMG!  PENNSIC!!!!!!!!!!!!!!!!11!!!!!) and beyond being super excited, I'm trying to get a bunch of things done for Pennsic.  I'm almost done sewing up my friends' wardrobe but I also now need to work on mine.  You see, I found out that it's going to be cool this year - not warm.   I'm used to the 95 during the day/ 45 at night Pennsics.   This is going to be 75 during the day.  ....

So....my thin linen chemise and linen dresses probably aren't the best idea then, right?   Right.   I have velvet gowns - which I'm bringing- but then I ran into another problem.

***Opening Ceremonies will take place at ~~~ 8 PM Saturday July 27~~~ Please gather in Atlantian Royal on N40 about 7:30 so we can form up and process in our usual Grande Atlantian Style. Please, if possible, wear Blue and/or White and, if you have any appropriate banners or pennants, please carry them that day. 

 Although I have a lovely blue linen dress, I have nothing in an appropriate shade of blue or white that would work for Opening Ceremonies.  Hmm...

Then I thought of my little blue box....

And Venice....

And....


My little geeky heart could not look back.  The veils are blue.  The dresses are...well, off white... but how can I say no?  I need to make a Vampires in Venice outfit because it just so needs to be done.

So, research!

After DVRing the episode and watching it about as many times as the Girl in the Fireplace one (face it, fellow costumers, if you like Doctor Who, you already know exactly which episodes these are and why I'd watch them a gazillion times over), I realized each of the dresses are different.   Only today I found a picture that confirms that:

The dresses range from white to a yellow cream color.   Most are done in some pseudo mid 16th C style with some more accurate than others.  Some have a print on them, some don't.  Luckily for me, all the "vampires" are brunettes.  :-)  I'll fit right in. 

Supplies:

I have a white lace parasol and a pair of white gloves.   I really just needed the correct color sheer material for the veil and something vaguely white to ivory - preferably with a print- for the dress.

I'm debating about getting this GORGEOUS cotton jacquard at Joanns that has a peacock feather print.  I'm going to double check my bins of fabric to see if I have anything that might work.  I recently used a lot of it up so I don't *think* so but we all know that means very little.  

As for the veil:


The color could not be more perfect.  I found it at Wally World for $1.50 a yard.  Yes, it's 100% dead dino but the color and the weight are just what I need.  Besides, this will be at 8 pm when it will already be cooling off rapidly.  I probably won't wear this through out the day.  (Okay, maybe I will.  I want to see how many people scream when they see me.)

Fun time!  Now, to make this and at least one other dress plus finish the doublets in under a week.  Challenge: Accepted!

Friday, July 19, 2013

How to take a commercial pattern and make it into a reasonably period pattern

Most of the big 3 pattern companies have the same issue when it comes to historical costuming; they aren't correct.  The big 3 patterns are for people who want a cool costume to a party - not really for those that want decent garb or historical clothing.  So what do you do if you want a nice piece of garb but can't really draft your own patterns yet?  This tutorial is to show you how to take one of those big 3 patterns and make it into a reasonably period cut pattern for a bodice.

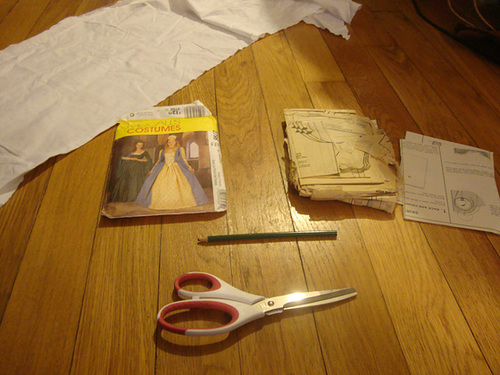
First, the supplies!
DSC03168
You'll need a "historical" pattern, sewing pins, a pencil (or something else to trace with), scissors, and material to transfer your new pattern on to (you can use a sturdy paper as well.  I just like muslin.) For this tutorial, I used McCall's 2798. It's OOP but it's a cute "Renaissance" dress. What I really liked about the pattern for this tutorial is that the bodice has both a princess seam and darts - two big No Nos in 16th C costuming.
DSC03170

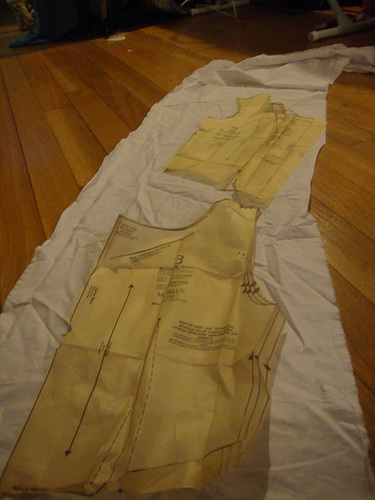
For any basic pattern, you really only want to cut out the bodice pieces since it's the most structured. You *might* want to cut out the sleeves as well depending on the era you are attempting. Post 17th Century, you need the sleeve pattern as well. 17th C and earlier, it's normally pretty optional when it comes to Western European costume. The skirt to any dress is normally 4/5 yards of fabric pleated/gathered to the bodice. You might have to adjust it for the front "point" a bit but the skirt really tends to be nothing more than a very long piece of fabric. Hence why I didn't bother to cut it out.

We'll start with the back bodice piece and the darts.
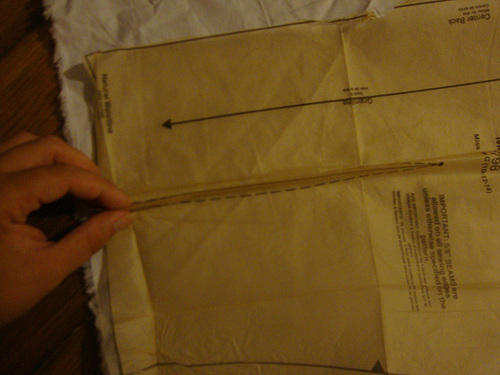
DSC03172

I pinch the bottom of the dart until the dotted lines line up. I then fold the dart down - as you would if you were making the dart in fabric- and pin the pattern down.
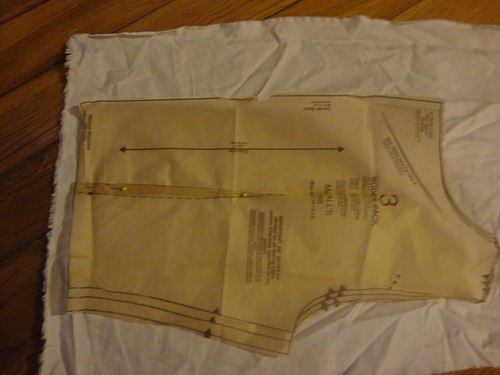
DSC03173

You can see the dart is pined on the pattern. I haven't pinned the rest of the pattern simply because I cut the pattern too big many years ago and need to resize it for the smallest size.

Once the dart is taken out of the pattern (remember, don't pinch the fabric WITH the paper), you trace around the paper on the fabric with your pencil.
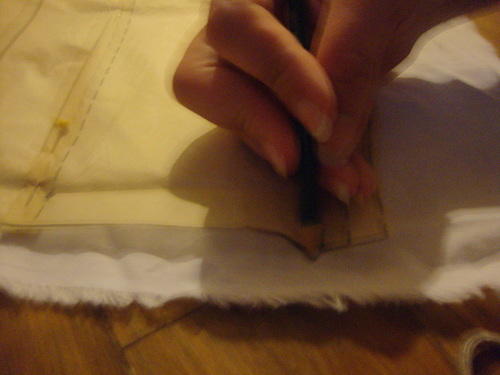
DSC03174

Sorry the picture is blurry but I wanted to show that I really am just tracing around the edges. Taking a picture with one hand and tracing with the other was interesting!
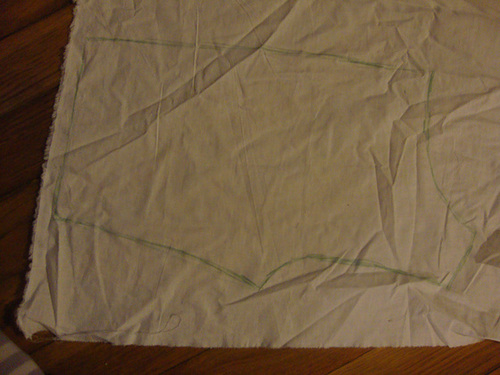
DSC03177


The new bodice back! If you are doing under arm lacing or front lacing, this is fine. However, if you want to do side back lacing, we need to go through a couple of more steps after we trace the front piece.
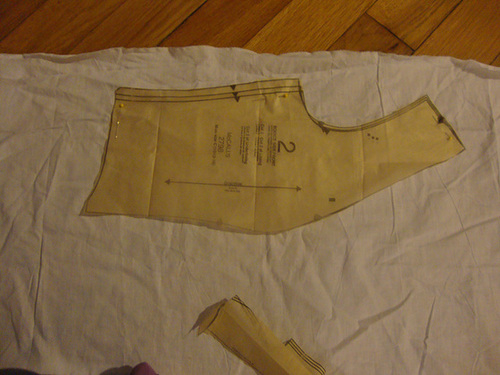
DSC03178

For the princess seams in the front, you want to place the piece with the armscye down first. Pin the sides but not where the princess seam is.
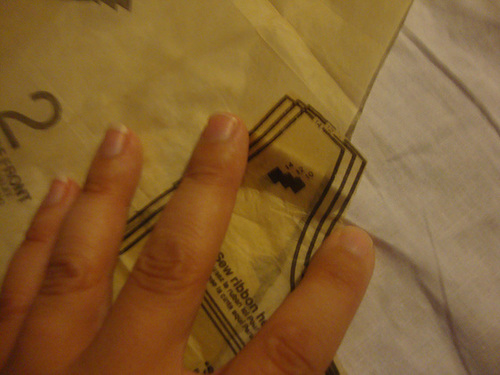
DSC03179

Take the front piece you haven't pinned (it's basically a stomacher) and match the squares from the front piece to the front side piece. Do not match the triangles. Once you have it fully placed, the triangles will be across from each other - not directly on top of each other unlike the squared. Pin the top in place.
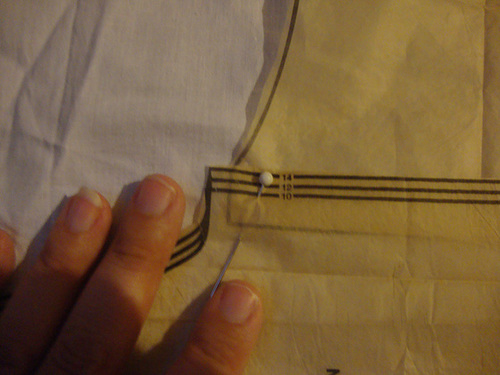
DSC03180

Match the bottom of the front and front side as best you can. When you trace, just smooth that small "notch" out by flipping up that corner and creating a smooth curve.
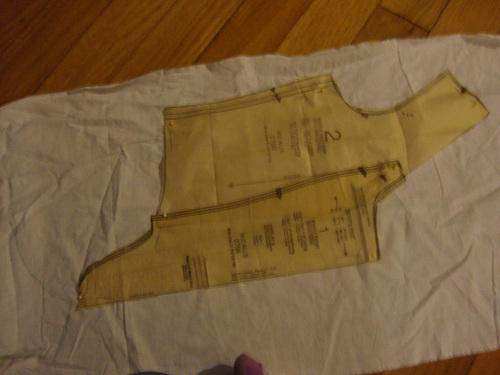
DSC03182

What the pinned front looks like. Trace around this.
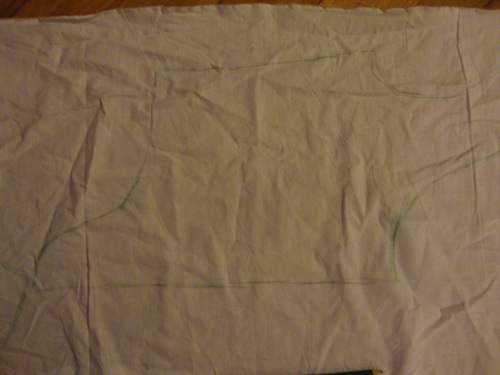
DSC03183

Cut out your new bodice front and back!
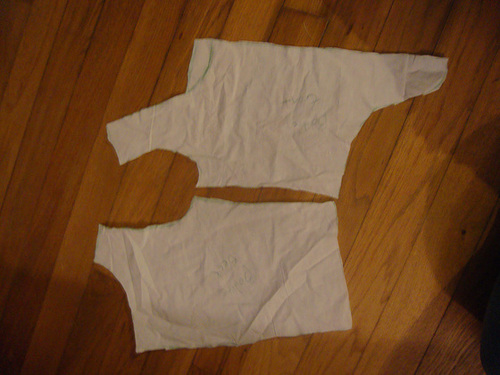
DSC03184

Now, to make it lace at the back sides, you need to make a new front bodice piece.

Fold the back bodice piece back to create a smooth line from the back strap to the back waist line. Place this and the front bodice pattern you just created on to the muslin again.
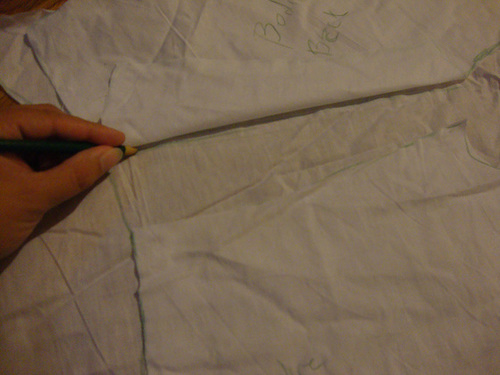
DSC03185

Trace the new folded edge of the back piece and draw a line to the waist edge of the front piece. Re-trace the rest of the front piece and follow with extending the armsyce curve to the new folded edge - creating a new front piece.
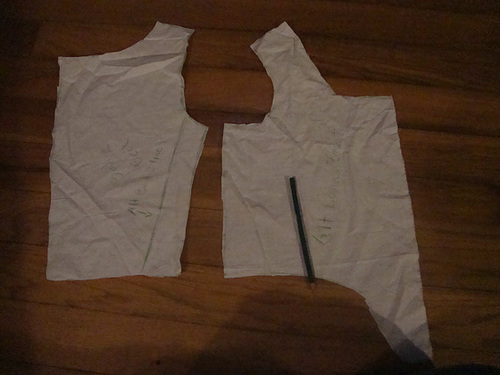
DSC03186

This is the new front piece shown with the bodice back. I just draw a line to show where I folded the back piece. There really isn't a reason to waste more fabric and create a whole new back piece.

You can play with necklines and use this "new" pattern to make a variety of styles. However, without the darts and princess seams, the pattern is now a lot closer to something they would have used in period to create a dress or gown. It's not perfect - the neckline is too low in the original pattern (I raised it up when I traced to create a square neckline which is why you see a curvy green line beneath the straight neckline of the new bodice front) and the back should probably be a bit lower as well. However, this is a thousand times better than the original for creating garb that you will wear for years to come.

I hope that helps! Please feel free to ask questions or add comments below.
Saturday, July 13, 2013

Historical Fortnight #14: Eastern Influence

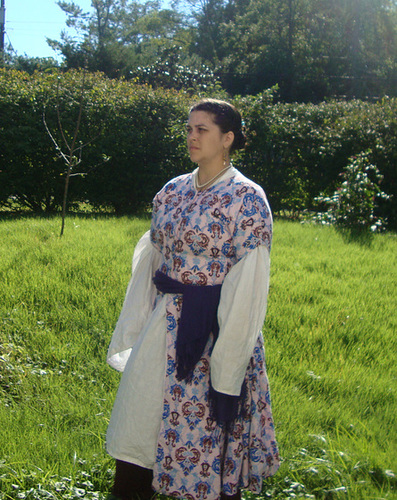
DSC04178
I tried it on without the chemise and with my t-shirt so it doesn't really look that funny when I wear it correctly.  I promise better pictures at Pennsic.

The Challenge:  Eastern Influence

Fabric:  Linen, linen, and more linen...with a silk scarf but I didn't make that
Pattern: My own! Seriously. 
Year: 16th Century but more towards the middle
Notions:  Very evil purple thread that wanted to break every foot
How historically accurate is it?  The fabric is correct, the cut is correct, I did machine sew it but the only non-handsewning that is visible on the coat are the buttonholes. 
Hours to complete:  More than it should have been.  The stupid purple thread kept breaking as I was sewing on the machine
First worn:  At Pennsic
Total cost:  I got all the fabric on sale a year ago when I first saw the print.  I think the total is rougly $55 but I'm not sure.


And now, the rest of the story! I love the Turkish coats of the 16th C. They were worn in Turkey and Italy. You can see a few pins of paintings depicting ladies in Italy wearing the Turkish style. It was popular and it is comfortable. I went with a linen print that really does mimic some of the prints of the day. The pants I plan on wearing with the coat are out of a purple linen. I already have a chemise as I've worn this style before. It's great for Pennsic mainly because you are wearing pants and don't have to worry about your hem dragging through mud.

Feel free to ask questions! I have a link to my old documentation for this style above.