Wednesday, April 6, 2011

Regency Gown Progress


Above is the dress I'm attempting to re-create. I saw it a few months ago on Vintage Textile and fell in love with it. I bought the silk to re-create it back in November but never got around to it until this past week. I decided to hand sew the dress to get as close to the original design as I can.
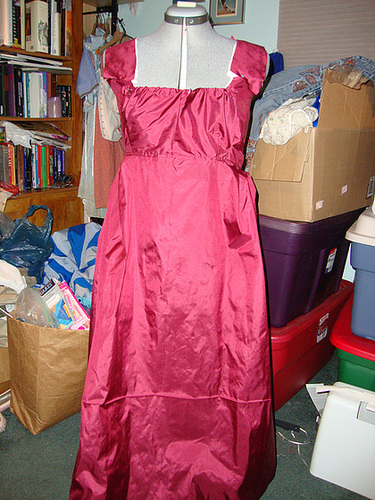

Regency Gown 011


These are the first mock ups of the bodice of the gown. Since the skirt is nothing more than a rectangle that is pleated to the back and a smaller rectangle that is pleated at the sides, I concentrated on the bodice. The lines were very different from my previous Regency gown and I wanted to follow them as closely as possible. After taking in the sides and folding the back so I could get the proportions of the pieces correct, I ended up with this:
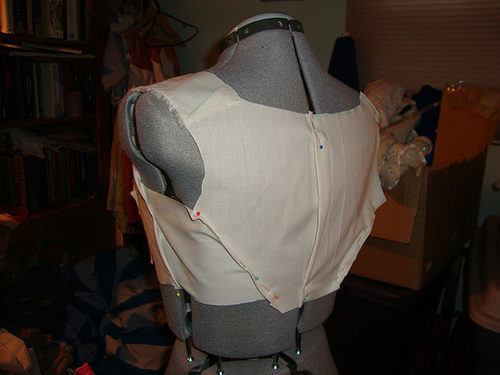
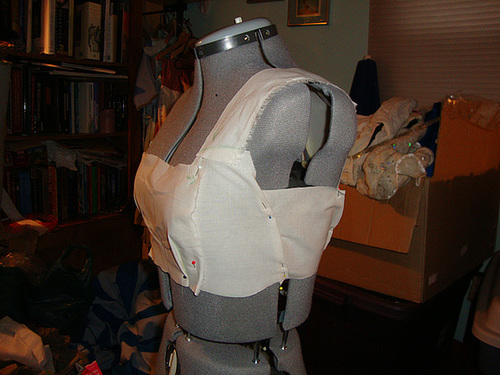
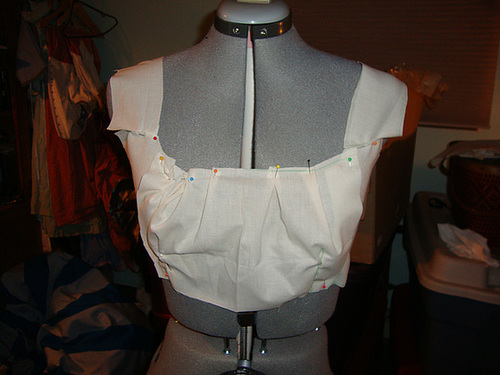
Regency Gown 002Regency Gown 001Regency Gown 003

The front of the mock up is only gathered with pins which is why it looks funny. I realized after the first mock up that I would have to cut a trapezoid, not a rectangle, for the bib front since it was gathered along the top. This actually is great for me since neckline on me and neckline on my dress dummy are two different things. I can just pull the drawstring and get the desired look easily.
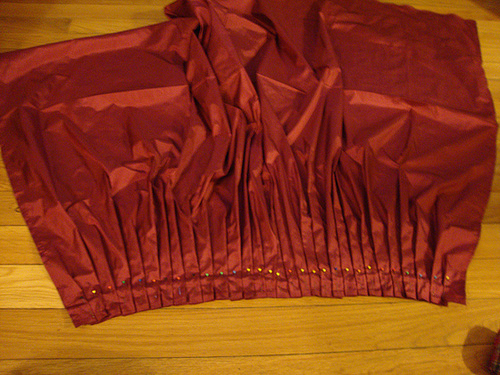
Regency Dress 007

The bib/apron part of the dress is done. I also almost have the bodice done. I really just need to sew the straps (actually, one strap now because I finished one this morning), pleat & add the skirt, and sew up the sleeves. Hopefully, I can finish it tonight!
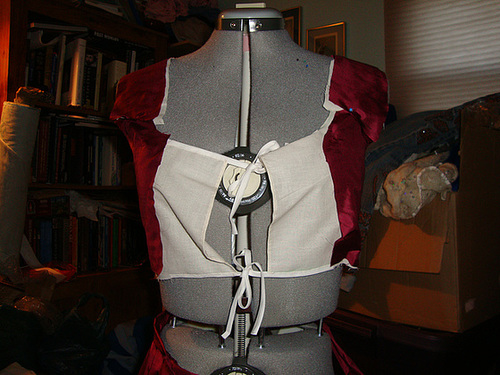
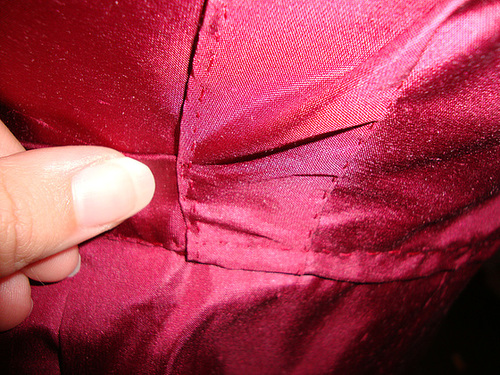


Regency Gown 015

Regency Gown 014
The dark picture showing the front closure isn't the greatest but I was attempting to show the way the bodice will look once it's finished completely. The lining is done and most of the bodice is. The other picture (the one with my thumb!) is the corner of the bib part of the gown with the attached straps. I wanted to give some scale to the stitches and the straps.
Hopefully, I will finish up the gown tonight. I plan on wearing it to a tea this Sunday! I'd like to have a new chemise before then as well which means -if I really plan on handsewing everything- I need to get crackin'. :-)



Thursday, March 24, 2011

How to make a very simple circle skirt

This involves...math. Eek! I know, I know. But, I swear, it's simple math and you can use a calculator if you want. This is how I made my black velvet skirt and many of my other skirts in the past if I didn't want to just pleat a piece of fabric and go.

First, get an accurate measurement for where you want the skirt waistband to hit. This may or may not be your true waist. Think of this as the circumfrance of a circle.

Now, remember C=2╥r. If you are making a circle skirt, you'll need the radius. If you are making a half circle skirt, you need the diameter. Given that you have C (let's just make it 28" for the sake of going through the calculations), the equation becomes 28/╥=D; which is about 8.97" or there about. If you are making a half circle skirt, you have the length you need to start drawing your waistline on the muslin. If not, simply divide by 2 to get the radius of 4.45".

For the sake of seam allowances, add a small amount to your D or R making them 9" and 4.5" respectively. (You can make them bigger than that but I've discovered that the waistlines tend to stretch a bit)

Using either the D or R, this is your measurement from the top corner of your muslin down to where your waistline will be. So, if you are making a half circle skirt, pull out your measuring tape or rule and mark, in a circular pattern, from the top corner of the muslin, down 9". For the full circle, only mark 4.5". Your muslin can be a quarter pattern (half the half circle) which tends to be a 45" square for me.

Once you've marked off the circular waistband of your pattern, mark off the hem. Figure out where you want the skirt to fall and measure from where you want the waistline of the skirt to be, down. Add this measurement (let's make it 22") to your D or R to get the hem drawn. So, for a 22" long skirt, you'd hold the measuring tape to that top corner of your muslin, and measure out 31" for a half circle skirt or 26.5" for a full circle skirt. Measure out in a circular pattern again. (Think of your measuring tape and your pencil or pins that you are marking with as a giant compass)

Once you have that done, you can cut out your pattern! For an actual waistband, cut a piece of scrap that is at least 1" longer than your waistline measurement (so, in this case, 29") on the bias so it will fit the waistband properly. Sew up the one seam to about 7" from the waist down and hem. Add a zipper or button or some other type of closure and you are done!

Wednesday, March 23, 2011

Simple skirt for work

skirt 001

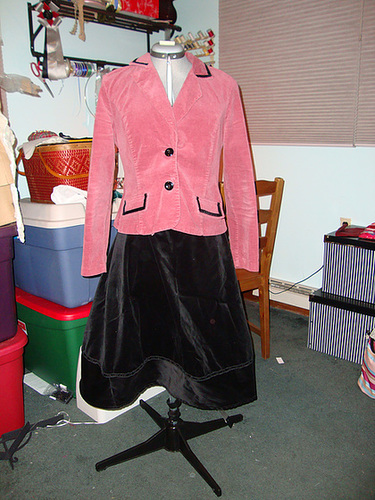
I was told today at 3:30 pm that I was to attend a briefing tomorrow at another agency's building. Given that a) I always wear something I've made to a briefing and b) I had a total of one afternoon/evening in which to plan something new, I went with simple is best. I got out my scraps of black velvet, my muslin, and some pretty black trim that I can't for the life of me remember why I got it in the first place.

I couldn't wear any of my old skirts I've made to the briefing (I've already worn one of them twice this month!) and I couldn't wear the dress I just made this week (I wore that to a briefing on Monday!), so I wanted something new. The scraps of black velvet were just enough to inch out a half circle skirt (hand drafted while waiting for American Idol to come on), a waistband, and pieces to lengthen the skirt. The lower part is actually additional scraps that I pieced together so the skirt was a bit longer than a mere 19" from my waist. To hide the piecing seam, I added the trim.

Hi

Since I can actually get on this blog at work and half the people I know are here, I figured I'd join too. Hi people!