The Challenge: Celebrate!
Fabric:Silk dupioni
Pattern: The redone trims are all my own
Year: 1822
Notions: Lots and lots of reclaimed silk dupioni
How historically accurate is it? ~70% ish. It's machine sewn and all silk dupioni so that knocks a lot of points off. However, the cut is accurate for the time period.
Hours to complete: The dress itself was already made. The retrim was about 5 hours just because I had to yank the old trim off!
First worn: Dec 29th at the Christmas Regency Tea
Total cost: None! Yay!
All the other important stuffs:
For this challenge, I wanted to make something for the annual Christmas Tea. However, I only have a gazillion Regency era dresses and I didn't want to make a new one. Any new Regency dresses are to be hand sewn - this is partly to prevent me from making new ones. ;-) Of course, I do have two hand sewn Regency dresses so you can see how well that's working!
Anyway, rather than making a new dress, I decided to do what any Regency era lady would have done when faced with an upcoming party - retrim your old dress.
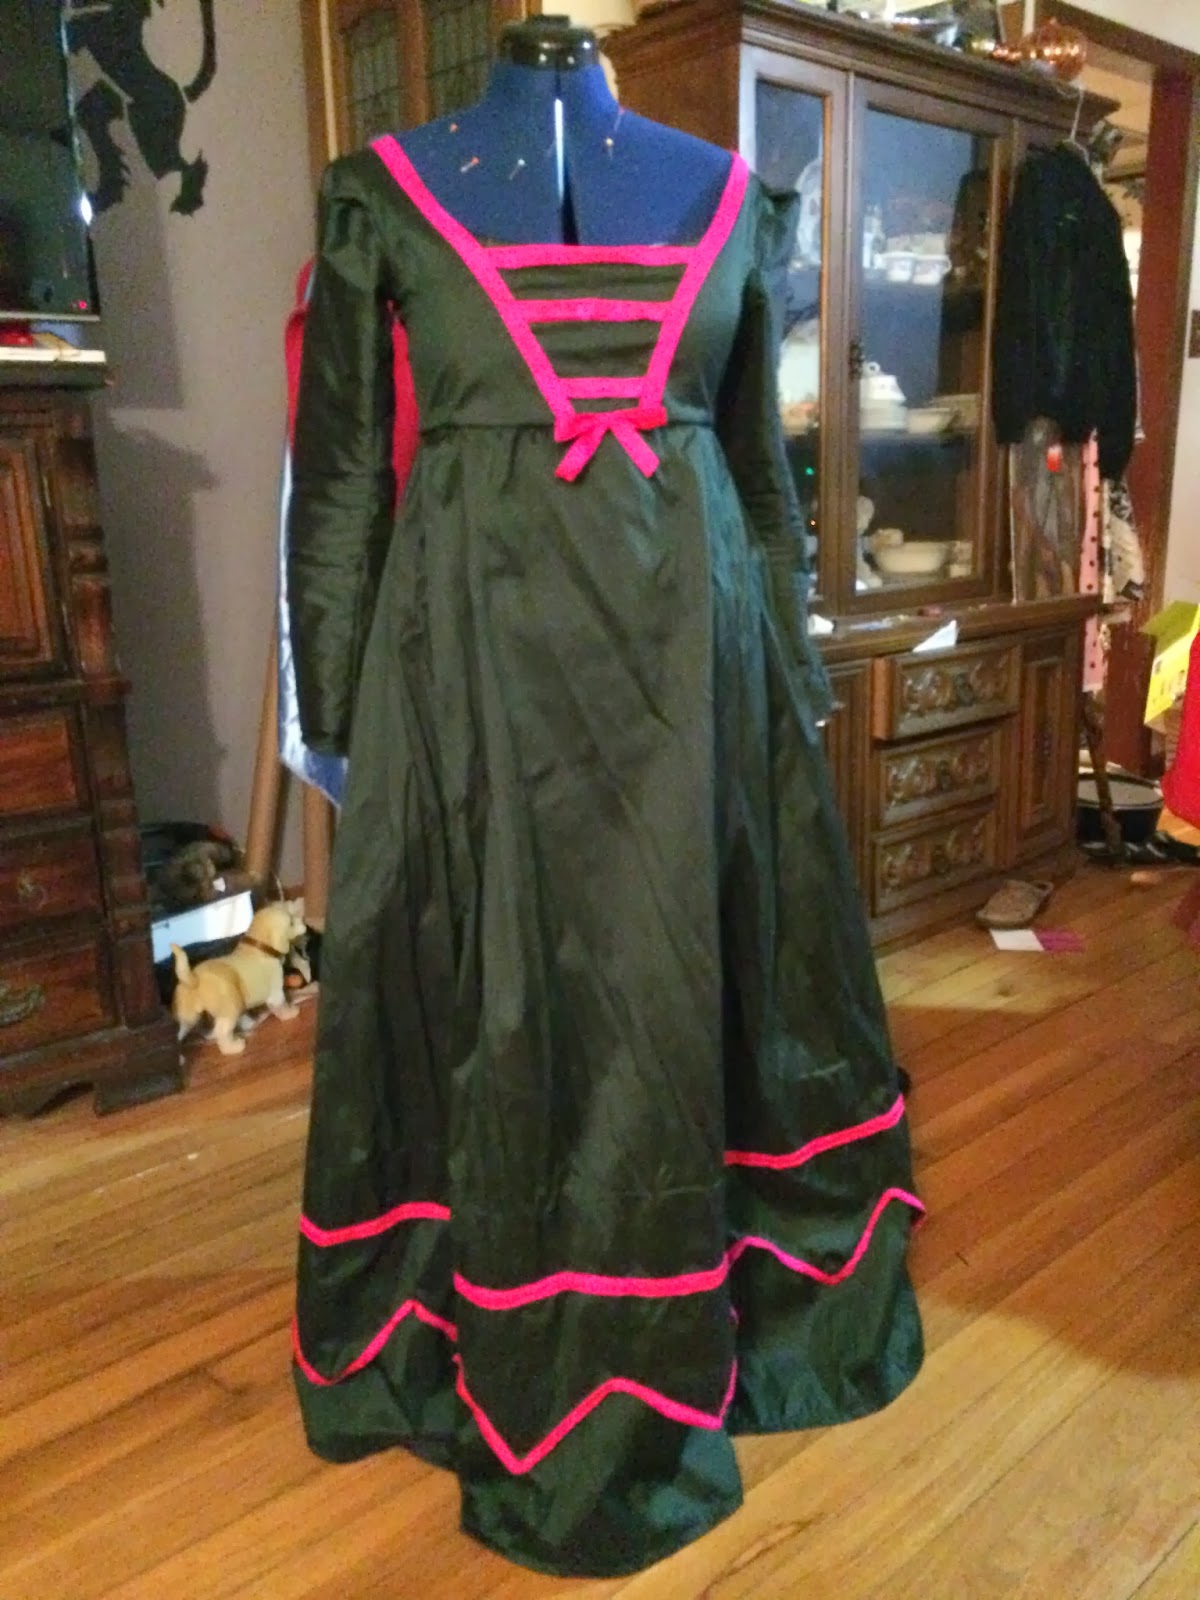
This is how my watermelon dress looked after I finished it three years ago.
I was vaguely going for something like this:

But with pink and green. I didn't like the trims I put on the dress pretty much right away but there was little I could do at the time. So, therefore, the dress languished in the back of the closet until last night.
First thing, rip off all the trim and even the sleeves. Originally, I had put a growth pleat into the skirt and stuck the bright pink skirt trim under the growth pleat. This worked and is period but I ripped everything out this time. I then cut the skirt and re-hemmed it properly.
With the massive 8" I had to cut off the skirt, I decided to use that to recreate at least one row of the trim seen in this fashion plate:
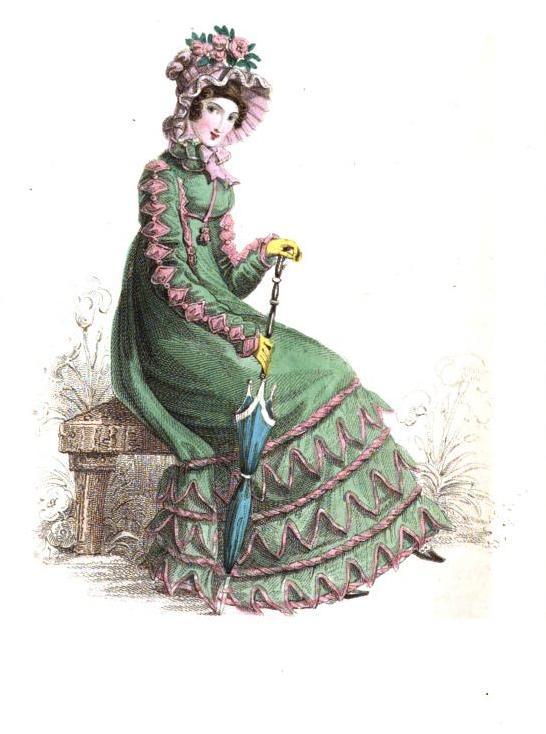
I really love the hem on the fashion plate and it's pink and green too! Woohoo!


I was very happy to get it done in time to wear it to the Christmas Tea. It's not a ball gown, but it is a party dress - perfect for a late afternoon tea.
0 comments:
Post a Comment