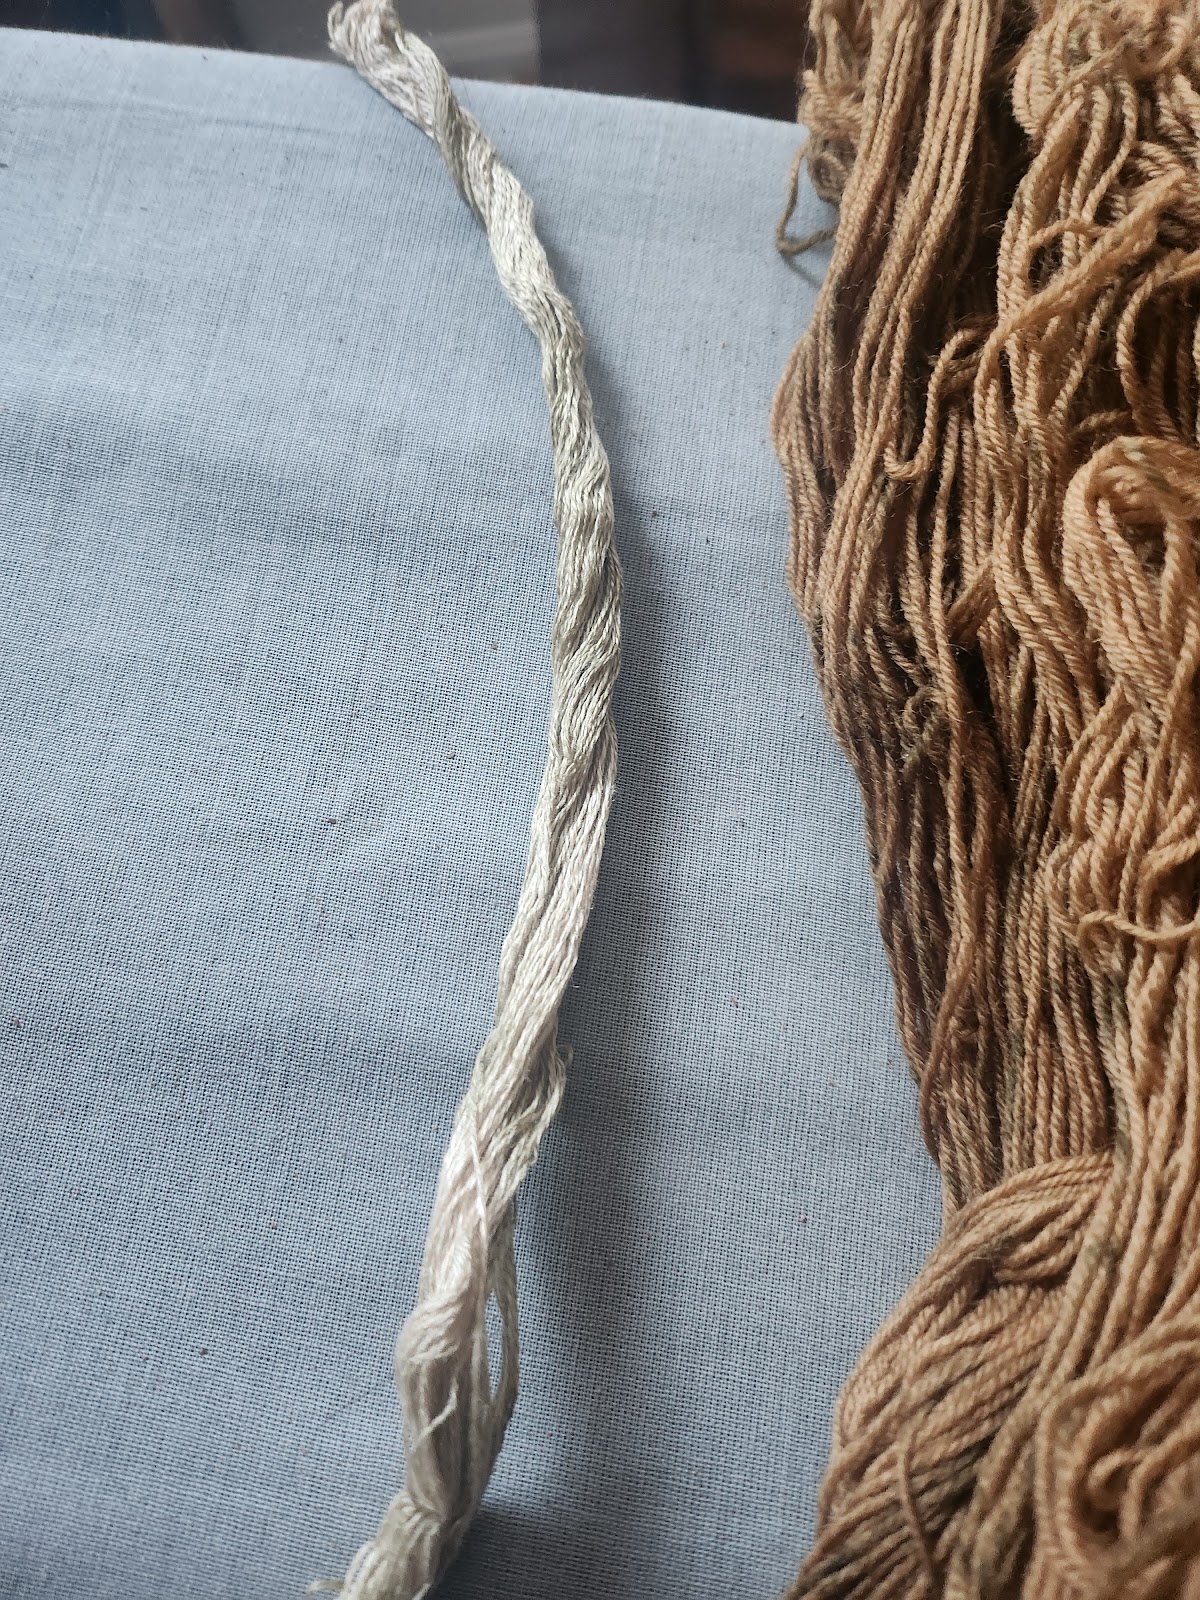
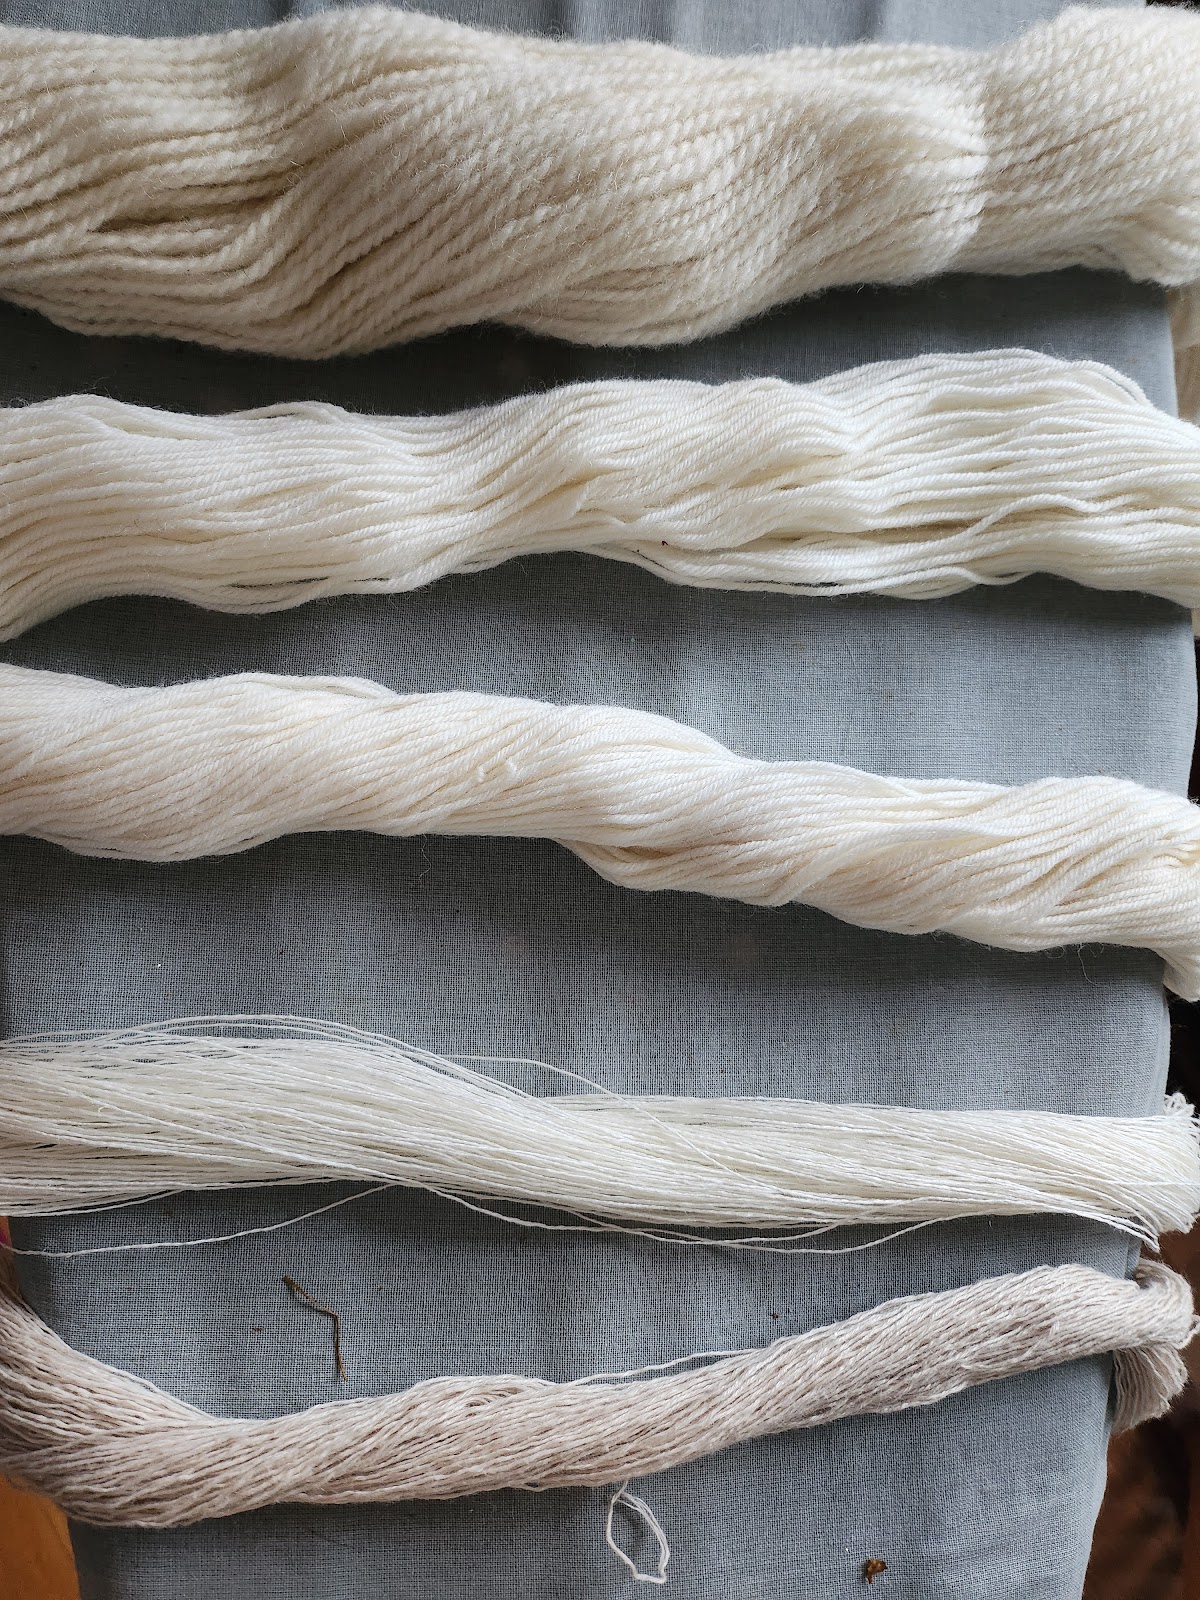
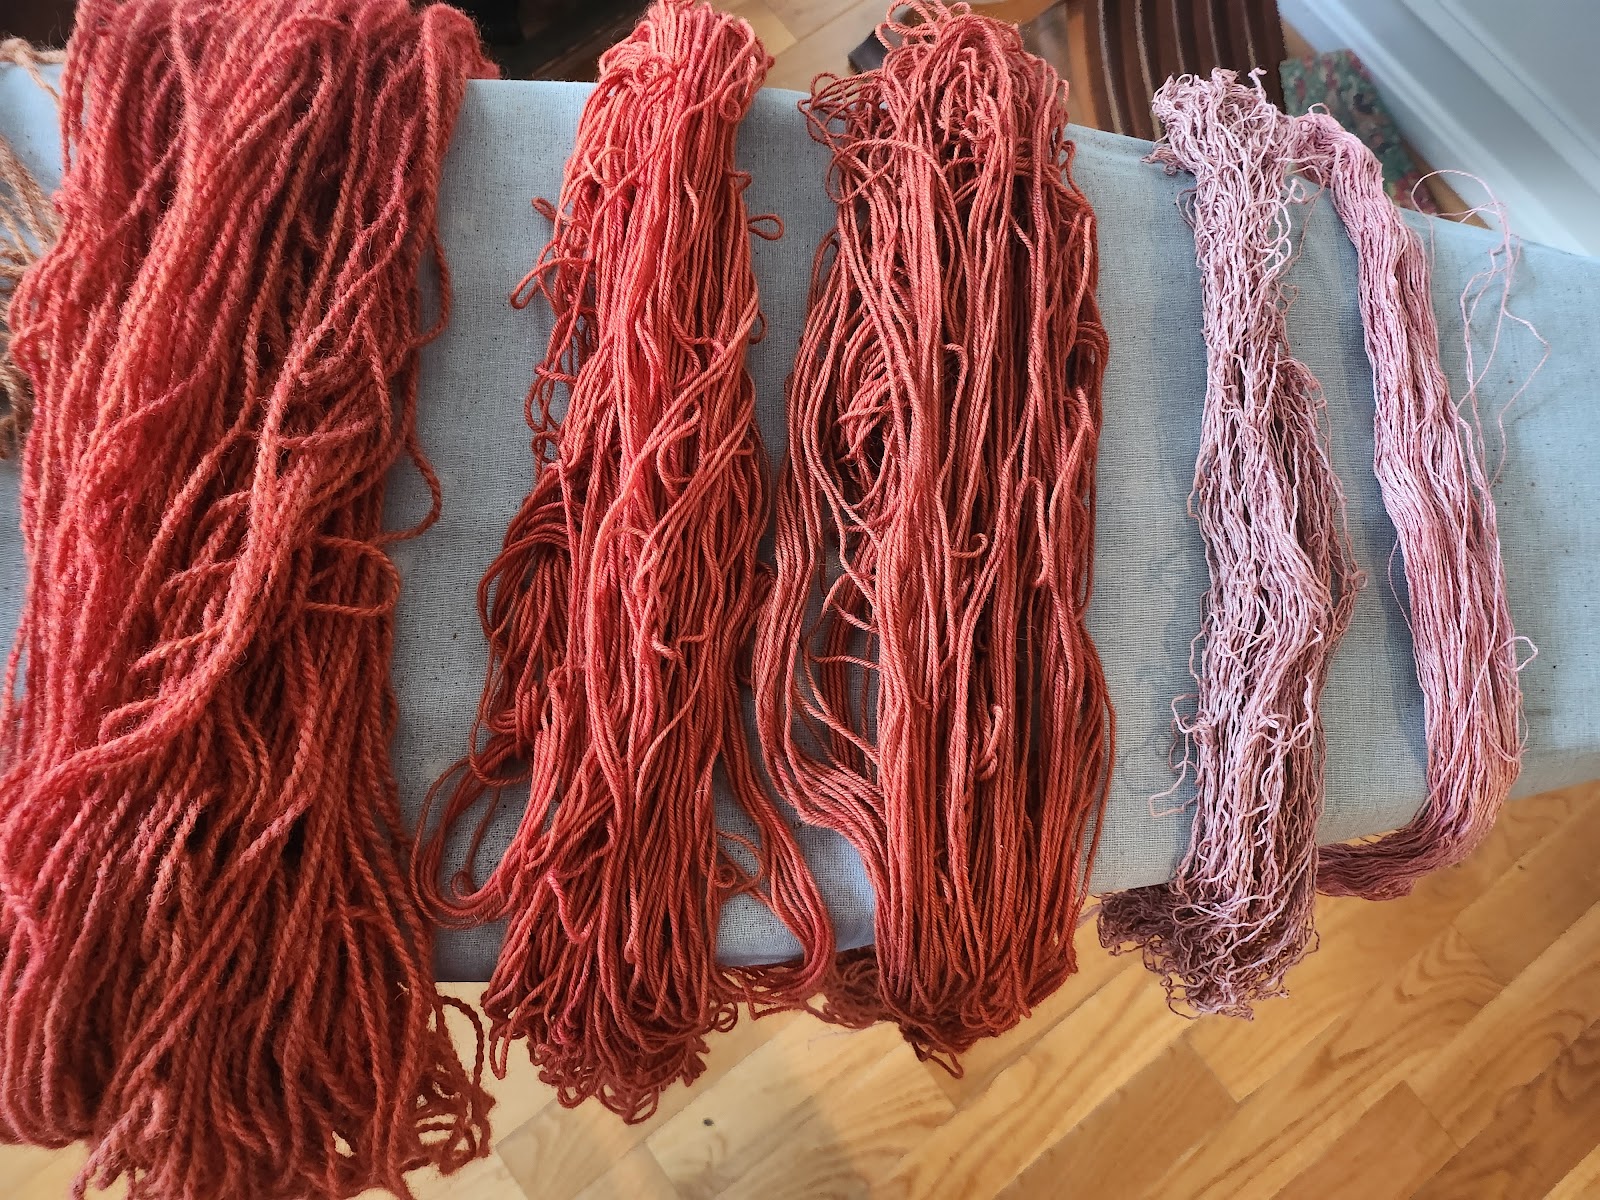
I had saris, dupattas, silks, linens, wools, a bit of geeky quilting cottons, velvets, and mystery fibers. These were all from cleaning out my fabric stash. Sadly, this is only 25% of the stash. It will go down another 10% for Christmas (quilts and blankets! Real fabric gift bags!) which should get the stash down to manageable.
Because I had only finished clearing out everything Friday morning, I decided rather than pricing everything, just to make everything flat rates. Linens were $6 a yard, wools were $5, and silks were $7. The saris and dupattas were $25. Mystery fibers and some of the cotton fabric were $3 a yard.
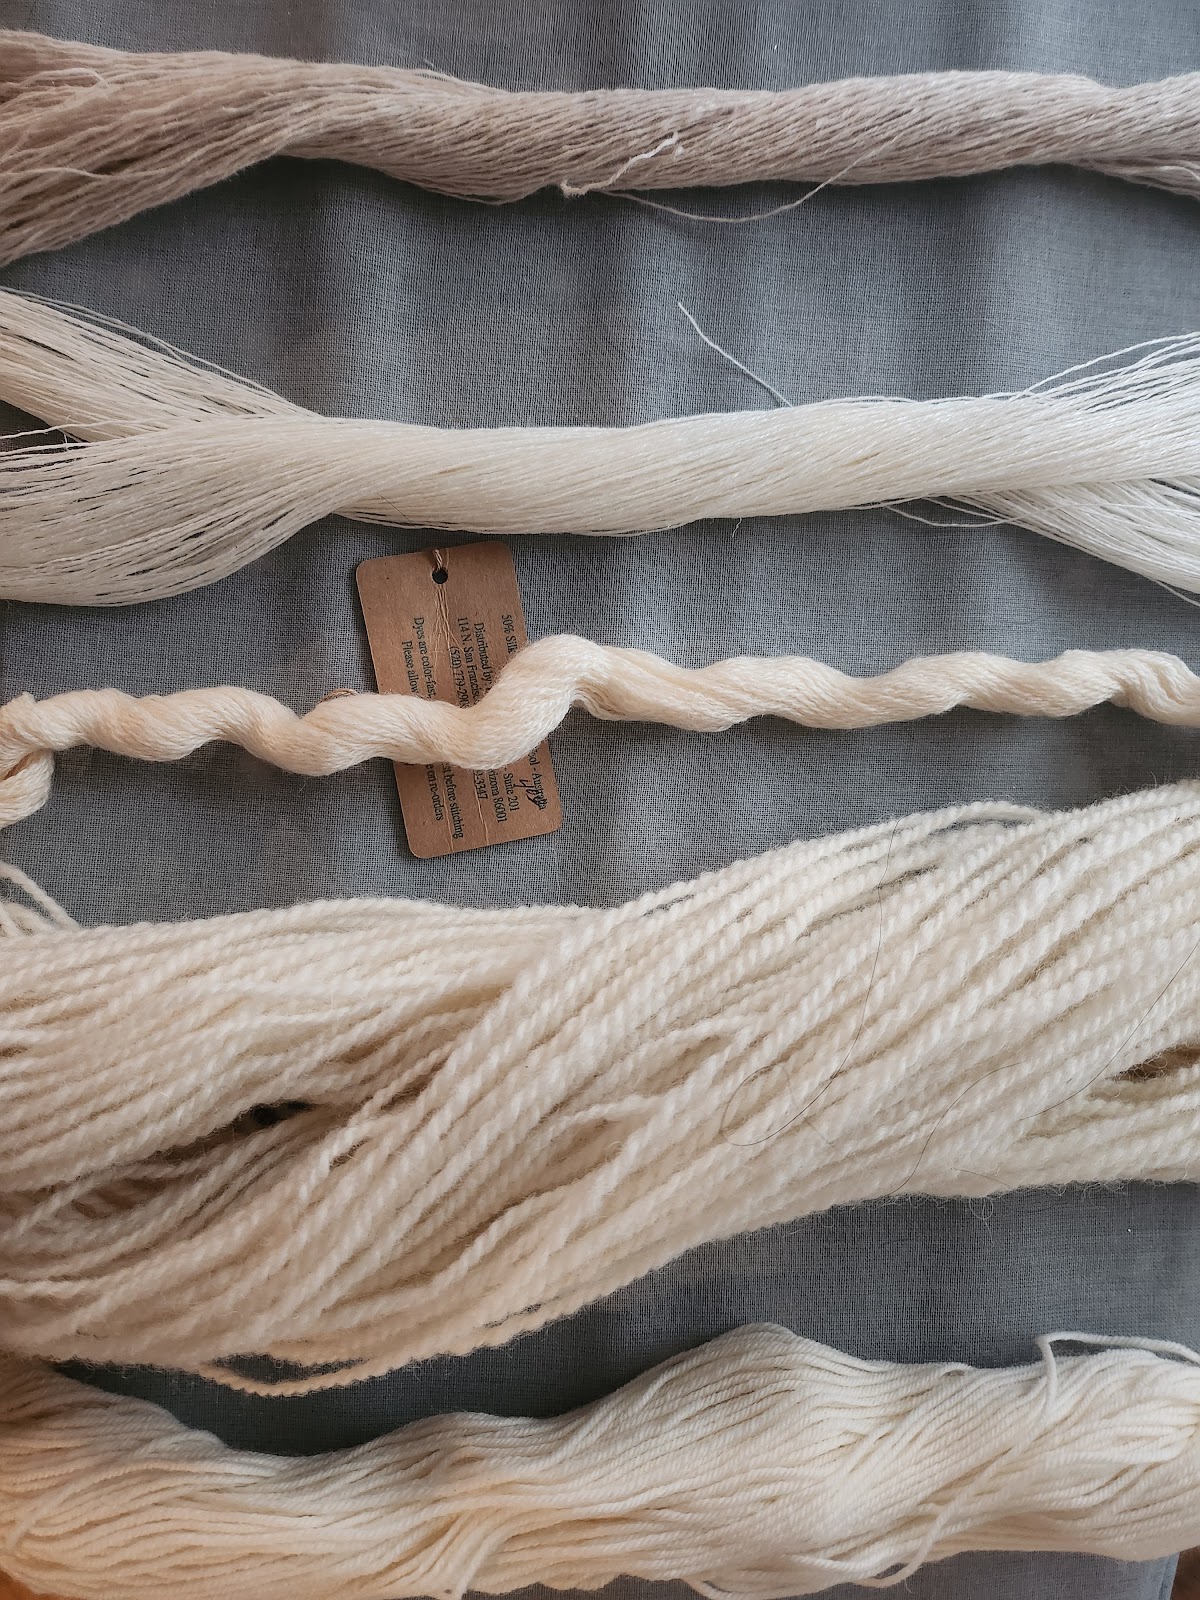
What I learned? Trying to add and multiple at the same time in your head doesn't work when you are already tired. :-) Really though, the wools went quick. Almost all of them were "boring" colors (various shades of gray, literally) but the guys, especially, seemed to love them. The saris pared down well but I was shocked that the velvet didn't sell. I ended up selling the 4~5 yards of lavender silk velvet (upper left corner of the photo) to a friend this morning. She wants it for her daughter. The linen, of course, sold well as did a lot of the mystery pieces.

This is what the table looked like towards the end of the event. The thread holder draped with ribbon and trim is a good indicator of how much sold. You can barely see the top of it in the first picture. I had to take a Uhaul to bring everything and managed to fit what is left into only three Rubbermaid containers! I even had a fourth one that was fully empty! (Plus, the stupid heavy large moving box filled with fabric when I got there was now empty!) Everything left ended up fitting into the back of my car.
I didn't get to see much of the event beyond court, sadly. The life of a vendor means you need to man your booth. My brother did come and help out half the day but I wasn't able to go and see the pretty horses.
One thing that did help with selling was being able to take tap credit card payments on my phone. I set up a business account on paypal for my real side hustle. I just had to enable the app to take payments via credit card and that ended up accounting for about half of my sales. Not trying to shill for them, just pointing out if anyone else is considering becoming a vendor, this might be a good way to accept payment.