Thursday, November 7, 2013

New Starter!


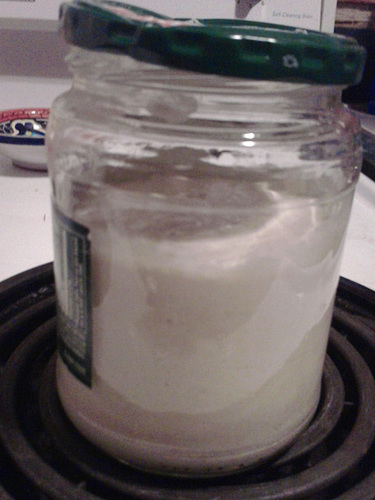
It was only half way filled when I added 1/4 cup of flour and water this morning. It's been growing like crazy - which is good- but I can't use it until next week. It won't be "sour" until then. Gah!


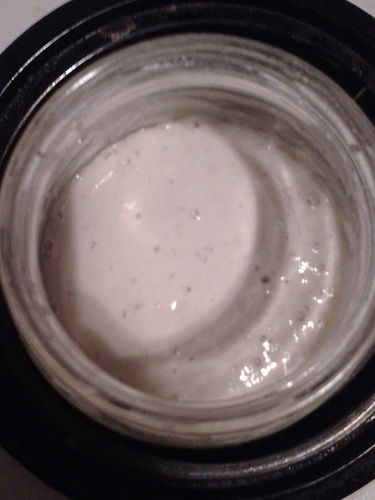
Look! Bubbles! Actually, that just shows how alive the starter is. It's only 48 hours old and it's already very very active. And yes, pickle jars are awesome to put starters in. You just have to clean them really well. I hope to be able to use this starter for Thanksgiving. We are going over to my brothers and sister in laws again - so I'm bringing a lot of bread. My SIL has 5 sisters, at least 4 of whom live in the area. I'm one of four children. My brother and SIL have 3 kids - in other words, with just the siblings and kids, it's already a nice large party!

Wednesday, November 6, 2013

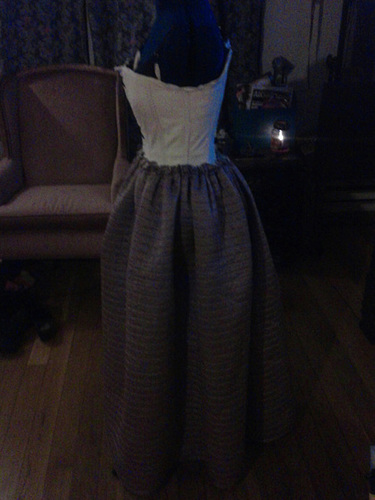
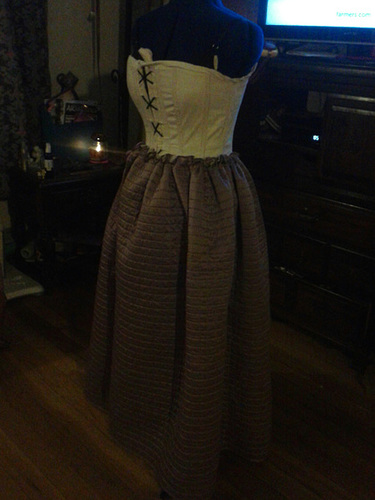
We have corset! And a quilted petticoat!


First, my camera died -in a graveyard- on Sunday. So, it's going to be these horrible, grainy, phone pics for at least a month or two (Umm, Santa? Camera please!).

Anyway, as prep for Gettsyburg in a couple of weeks, I needed proper undies. I do have one outfit done so it's not complete chaos yet.

The corset. I wanted a front lacing corset. I cannot stand back lacing corsets/stays/pairs of bodies of any kind. Although rare, there are some extant examples of front lacing corsets in the 1860's.
The inspiration.


I did do a couple of things differently - I have boning at the very front and I have it cross laced rather than spiral - but the shape is correct for the 1860's.

For the petticoat - well, it's going to be cold later in November so I wanted a quilted petticoat. However, I do not have the time nor the patience to quilt a petticoat myself. So, I went to thrift store. There, they had a lovely lavender king sized quilt that I cut up. I cut it long ways so I have 41" by 106" piece of quilted fabric. I then unpicked the top two inches (which was interesting because the stitching isn't straight across, it's zigzagged), cut out the stuffing from those two inches, folded the fabric in, and added a drawstring. This is actually pretty period as they did have drawstring quilted petticoats - my extant one is upstairs has a drawstring. I thought I posted the extant one online but I can't find it anywhere. Oh well.

So, I will have the proper shape and I will be warm!

Monday, November 4, 2013

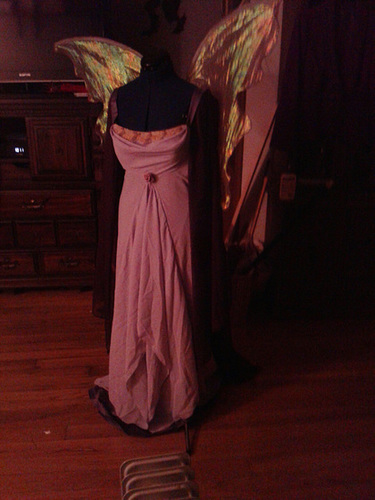
Historical Fortnightly 22: Masquerade


The Challenge: Masquerade
Fabric: Polyester, Acetate, silk organza, silk charmeuse (the lil rose on the front of the dress)
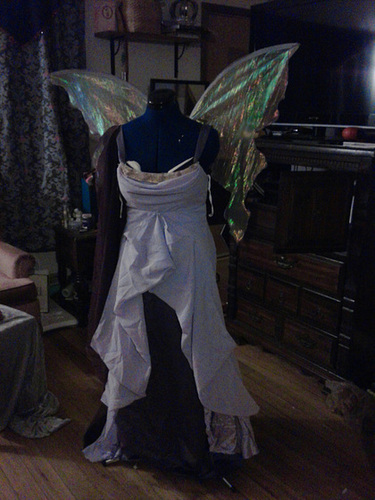
Pattern:  None really. It's my two old bridesmaids gowns torn apart and thrown together to make a nice purple fairy gown.
Year:  Since this challenge allowed "fantasy", I ran with that. Still, the idea of a Fairy Queen is well known through out modern history.
Notions: A small amount of trim.
How historically accurate is it? I suppose it might work for Edwardian fancy dress but really, it's all about being the Fairy Queen.
Hours to complete: Maybe four?
First worn: Hopefully to the Fairy Fest in May!
Total cost: I honestly don't recall. One dress I wore way back in 2003 and another in 2007. This had been in the UFO pile for a while.


Additional Details:

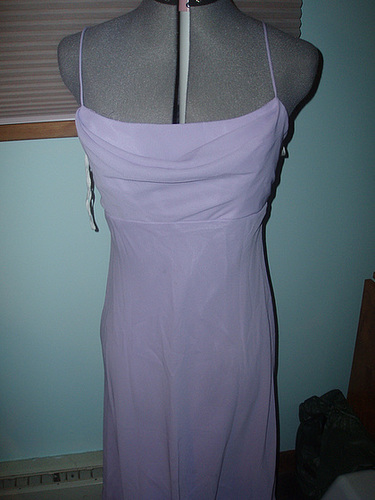
So, for this challenge, it was more free for all than previous ones. Originally, I wanted to do a lovely pre-raphelite dress only to discover I didn't have quite as much fabric as I thought I did. Doh! So, I dug this out of the UFO pile instead. Here is what the dresses looked like originally:
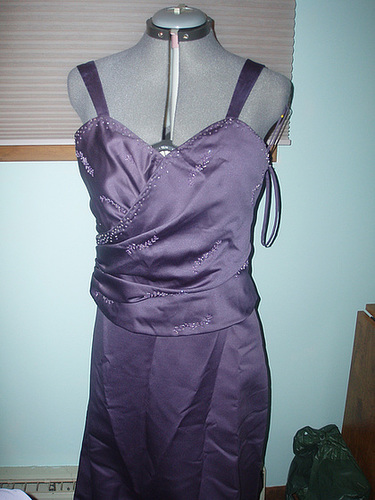
First Gown 008
First Gown 007


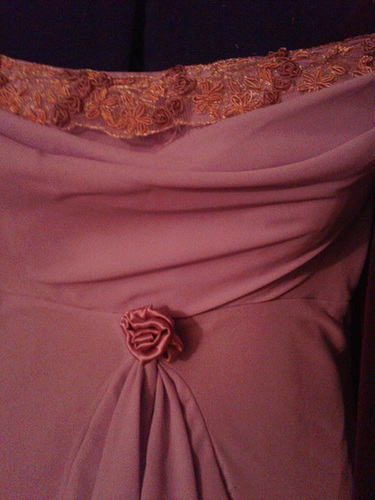
I took both of them pretty much completely apart. I yanked out zippers and took the shoulder straps off the dark purple bodice only to put them on the lilac dress so I could have sleeves. I added trim to the front of the lilac bodice from a project so terribly long ago I have no clue what happened to the dress the rest of the trim went on.

The sleeves are purple silk organza and are basically very large rectangles. I did add a bit of a sleeve cap so they would fit correctly but they really are just about a yard each of material and little more.

The back of the dress now laces up and has a nice "tail"/train cover for the lacing since I am not a size 6 anymore. I didn't get good pictures of the back of the dress due to lighting issues. Hopefully tomorrow.

For the front, I took the shawl that came with the lilac dress, cut it in half, and added it to the front opening I cut into the dress. I took out the lining of the lilac dress and added the dark skirt that really always rode up to high to begin with. (The bride laughed at be when she saw how high the skirt came originally). Amazingly, the skirt of the dark purple fitted *perfectly* with the waistline of the lilac dress.
Below the bodice, I added a small silk rosette I made out of some scraps.  The scraps were from my first "Poe" gown.  The color matched the trim on the bodice perfectly.

The wings are a pair of fairy wings I bought years ago from a lady who stopped making them a month or two after I bought them.  They are fabulous. 

I think this would probably be most acceptable at an 1900's/1910's fancy ball.  The Fairy Queen was pretty much always fair game from the 16th Century (the poem was written in 1590 but there is plenty of English folklore before that) on up.  However, in the 1900's/1910's - with the rise of the new medium called "film", costuming took on a very different direction.  In 1917, we have the faux photos of fairies but even before that, we have some pre-raphelite influenced early Art Deco works.  This photo is from 1905. 
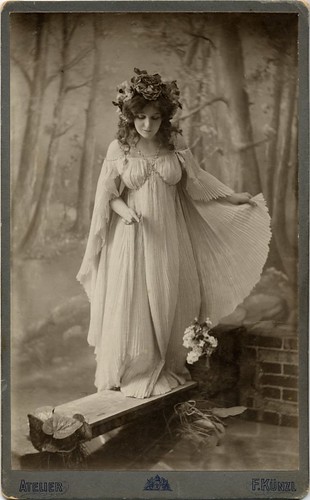
Art Noveau Fairy Queen

To sum up, the dress really is two bridesmaids gowns thrown together with some silk organza so I'd actually wear 'em again. :-)
Sunday, November 3, 2013

Masquerade Garb


Originally, for the Masque challenge, I wanted to do something Pre-Raphaelite. I ended up picking the dress from Miranda, the Tempest:

Based on comments and suggestions, I agreed a wool for the underdress and a linen for the overdress would work. Which was perfect, I thought, since I have 5 yards of red wool and 3 1/2 of the blue linen. I've been holding the blue linen forever to make a medieval dress out of. I bought 20 yards of the stuff on ebay years upon years ago, holding on to the last little bit....which turned out to be only 2 yards. Although I could make the underdress, it's the overdress that is recognizable. Oh, and I found out yesterday...so.

I could suck it up and just make a mask. I could attempt something steampunk - which is allowed this challenge- or, I realized, I could finish an old UFO project.

The Fairy Queen gown is an old UFO project. It was originally two of my bridesmaids gowns. And I've since added more fabric to them. In the back, the zipper will be hidden with a dark purple cover and train. The sleeves - one shown in the picture- will be out of a dark purple organza. The wings are ones I bought, again - years ago- on ebay. The lady that made them stopped making them maybe a month after I bought mine. Hopefully, I can figure out the skirt front (I won't tell you what I thought when I had it pleated/draped. It would break the internet.) and get this thing done by tomorrow.

The nice thing is, even though fantasy is allowed for this challenge, the Fairy Queen is a well known historical "fairy tale" - dating back to the late 16th C. So, this is what I think she might wear around the 19th or early 20th Centuries. :-)

Saturday, October 26, 2013

A new to me view of the French Hood

I was at the MET the other day when I came across this very early 16th C pendant:


I'm thinking it's probably 1490's based on the style of the hood and the dress.   What I found interesting is the way the back of the hood is stylized.  It doesn't look like a tube, to my eye, as other have speculated, but a separate veil. The black velvet band across the top of the head is folded back- popular in the early ages of the French Hood. 

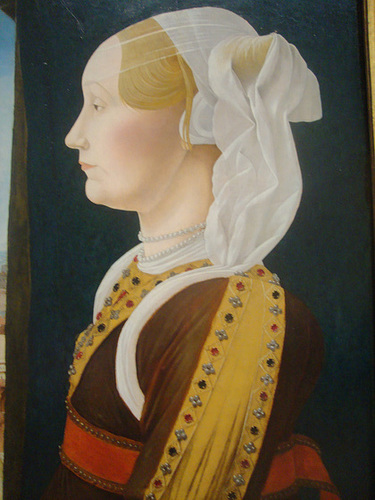
I've been working on a theory that the Mysterious White Band we see a bit later is actually the straps to the coif worn beneath the hoods.  The theory is based on something I saw in Italian portraits like this one:


DSC03456


This painting is only a few years before the French hood pops up in fashion in...France! Given the interaction between France and the Italian City States (like near constant war) at that point, it's completely possible that a few French soilders brought back some lovely Italian veils for their wives to wear.

Although not shown, we know they did wear coifs or veils beneath the French Hoods.  As the French Hoods got smaller, the veils may have stayed the same size and continued to go over the front of the arms (like the French hoods originally did and the veil in the Italian portrait).  With the Mysterious White Band, what we are probably seeing is just the veil tails or coif lapels being pinned to the front of the dress during a known fashion transition period.   We always see crazy holdovers during transition periods.  

Wednesday, October 23, 2013

Middle Nephew's Halloween Outfit Progress


When middle child told me that he wanted to be a yellow butterfly for Halloween, both my brother and I were surprised. Middle child is known as the destructor, the child that will break anything given to him. I sort of thought he'd go for something like Spider-man given that is his latest obsession. Did I mention he's three?

However, middle child kept to the yellow butterfly costume idea for a good month so, that's what I'm making him. Oldest child wants to be Link from Zelda - asking his medieval minded Aunt to make him a t-tunic and hat? Sure! Yeah, it took all of a few minutes for that one.

Anyway, back to the middle child's yellow butterfly. I had no idea how to make a butterfly outfit so I did some research:


Most yellow butterflies I saw looked like this. They were yellow but had thick black lines. I realized that a simple half circle cape with some cutouts might work.

The half circle was easy enough to cut out.  Rather than a normal curve, I made the edges "wavy" to mimic butterfly wings. 
I also decided the butterfly needed a tail so I took some of the scraps - after cutting out a hood- and placed them at the back of the cape. 
The yellow will show thorough the cutouts.  The cape is basically a bottom full black fleece half circle, a yellow poly satin half circle, and a black fleece cutout half circle.   Plus a hood that I cut out as well.
The first few cut outs.  If you've ever made a paper snowflake, it's sort of like that but on a much bigger scale with fleece.  It's not hard but you do have to be careful. 
All the cut outs.  I wanted it to look like it was two butterfly wings, the top and bottom, together. 
This is the cut out over the yellow satin and bottom black fleece.  What do you think?  Will he look like a proper yellow butterfly or does it need something else?

Tuesday, October 15, 2013

Vegan Chocolate Fudge!!!!!


Ingredients:

240 ML Vanilla Flavored Soy Milk
7 oz Ricemallow
1/4 Teaspoon of salt
4 tablespoons of Coconut Spread
1 bag of Chocolate Chips (non dairy)
1 1/2 cups of walnuts (optional)
1 1/2 teaspoon of vanilla extract (optional if you use vanilla soy milk)

Directions:

You want to reduce the soy milk to about half.  Just pour the soy milk into a medium sauce pan and put it on low heat.   You'll need to stir it every so often as the soy milk gets that "film" on top.  If you stir it back in, it's fine.  I'm not sure how long it took, but I had my burner on "3" (out of 10) and was able to eat lunch plus write a couple of emails so I'm guessing a half hour.

Once the soy milk is reduced by half, add in the coconut spread, salt, and then the ricemallow.  Stir it all together over a medium heat (my burner was between 5 & 6).   Once it's pretty well blended, wait for it to boil.  It doesn't take long.  I got the chocolate chips & walnuts out at this point & cut open the bags so I would be quick once I was ready to add 'em in.

When the mixture starts to boil, stir it for a good five minutes.  Make sure it is still boiling as you stir.  This may mean you need to turn the heat up.  The mix will turn from a frothy off white to a caramel color - it's okay, it should.  Technically, the mixture should be at 240F after those five minutes but I don't have a candy thermometer and I know you don't need one to make fudge. 

After five minutes, take the sauce pan from the heat and add in the chocolate chips, walnuts, and vanilla (if you need it).   It will turn into a lovely dark chocolate goo pretty quickly as you stir everything in.  Once the mix is well blended, pour it into a 8" by 8" sized pan.  (Or any small cake pan, really)  Let it set by leaving it out at room temp or putting it in the fridge for a while.

This will make a nice bit of dark chocolate fudge.  Perfect for those of us that can't have dairy!

Edit:
Now that I've been eating some of it and it's set, I thought y'all might want to know what it tastes like.  It is good.  It tastes like a fudge flavored chocolate chew.  It doesn't taste exactly like regular dairy fudge but it certainly isn't bad either.

I admit I had a bit of an issue getting it to set. I simply didn't have the heat hot enough when I was mixing it. If you run into this issue, just pour the fudge back into the saucepan, turn it up, and make sure it is boiling. You'll know it's ready when the chocolate no longer sticks to the sides of the pan. I did add a bit more ricemallow (the rest of the can)and a small bit of olive oil since I was worried part of the reason it wasn't setting was the lack of fat. I also added some powdered sugar once I removed the mix from heat. It set pretty quickly after that.


Postus Editus:

My family tried it. And even a few family friends. :-) My dad thought it tasted too much like candy - we agreed on chocolate taffy. Mom seemed to agree. My baby brother really liked it - he had two pieces. His best friend also tried it as was surprised it wasn't quite as sweet as he thought it would be - it's a true dark chocolate fudge taste. He liked it too. So, if my very much bacon loving family liked something vegan, my guess is it's decent. :-D

I'm going to play with the recipe some more - I think almond milk might help- but I also want to learn how to make a few other confections without milk or corn...