First, the supplies!
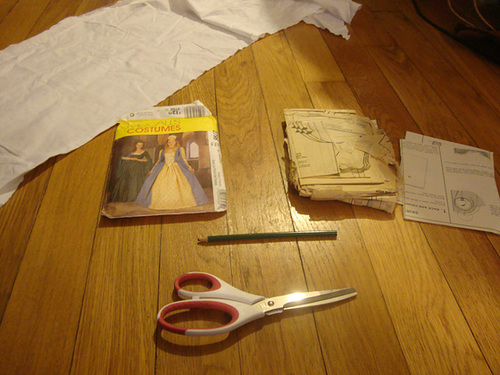
You'll need a "historical" pattern, sewing pins, a pencil (or something else to trace with), scissors, and material to transfer your new pattern on to (you can use a sturdy paper as well. I just like muslin.) For this tutorial, I used McCall's 2798. It's OOP but it's a cute "Renaissance" dress. What I really liked about the pattern for this tutorial is that the bodice has both a princess seam and darts - two big No Nos in 16th C costuming.
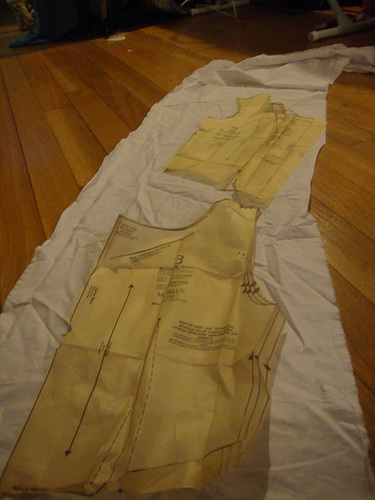
For any basic pattern, you really only want to cut out the bodice pieces since it's the most structured. You *might* want to cut out the sleeves as well depending on the era you are attempting. Post 17th Century, you need the sleeve pattern as well. 17th C and earlier, it's normally pretty optional when it comes to Western European costume. The skirt to any dress is normally 4/5 yards of fabric pleated/gathered to the bodice. You might have to adjust it for the front "point" a bit but the skirt really tends to be nothing more than a very long piece of fabric. Hence why I didn't bother to cut it out.
We'll start with the back bodice piece and the darts.
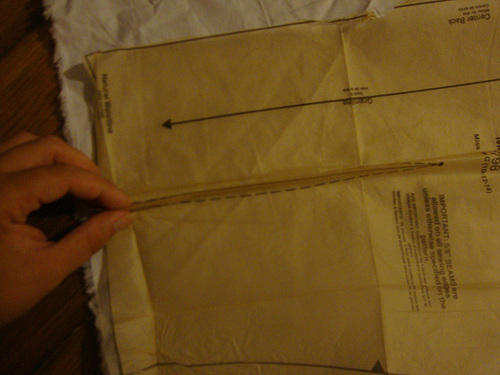
I pinch the bottom of the dart until the dotted lines line up. I then fold the dart down - as you would if you were making the dart in fabric- and pin the pattern down.
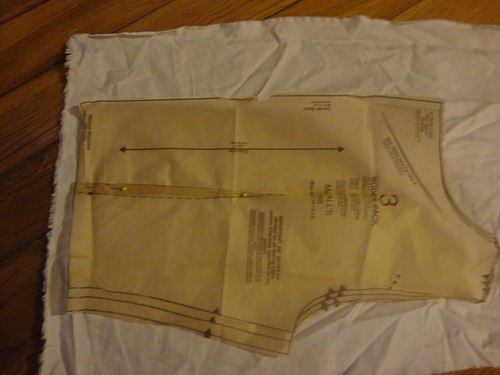
You can see the dart is pined on the pattern. I haven't pinned the rest of the pattern simply because I cut the pattern too big many years ago and need to resize it for the smallest size.
Once the dart is taken out of the pattern (remember, don't pinch the fabric WITH the paper), you trace around the paper on the fabric with your pencil.
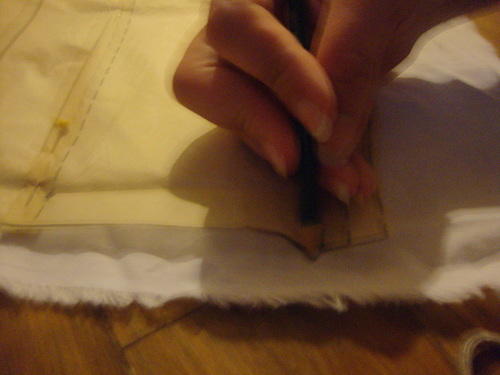
Sorry the picture is blurry but I wanted to show that I really am just tracing around the edges. Taking a picture with one hand and tracing with the other was interesting!
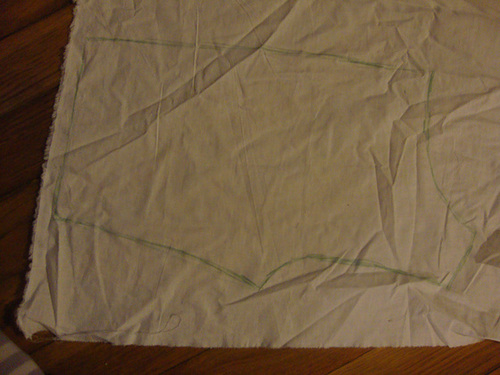
The new bodice back! If you are doing under arm lacing or front lacing, this is fine. However, if you want to do side back lacing, we need to go through a couple of more steps after we trace the front piece.
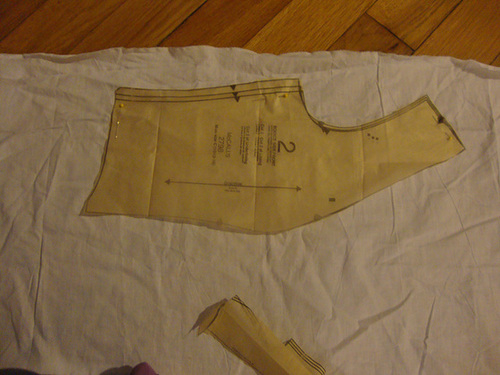
For the princess seams in the front, you want to place the piece with the armscye down first. Pin the sides but not where the princess seam is.
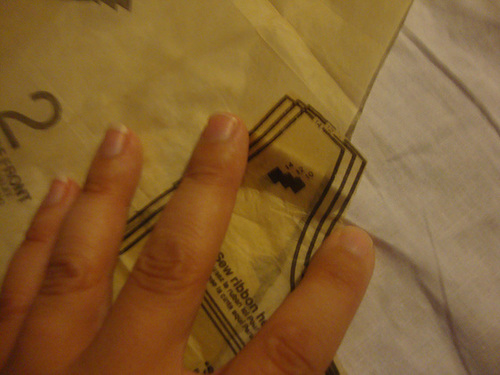
Take the front piece you haven't pinned (it's basically a stomacher) and match the squares from the front piece to the front side piece. Do not match the triangles. Once you have it fully placed, the triangles will be across from each other - not directly on top of each other unlike the squared. Pin the top in place.
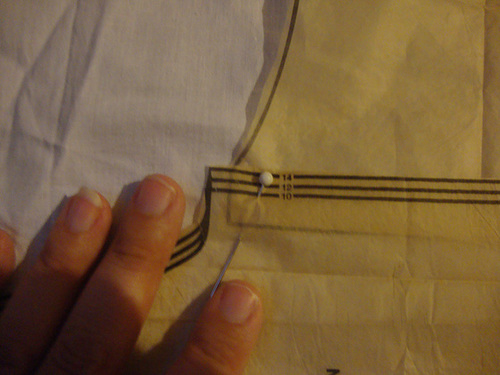
Match the bottom of the front and front side as best you can. When you trace, just smooth that small "notch" out by flipping up that corner and creating a smooth curve.
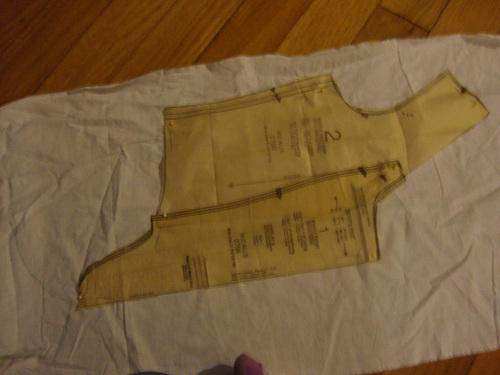
What the pinned front looks like. Trace around this.
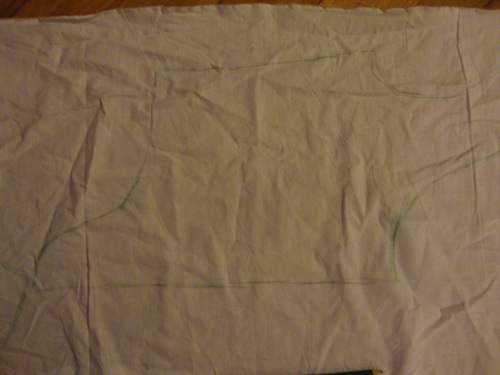
Cut out your new bodice front and back!
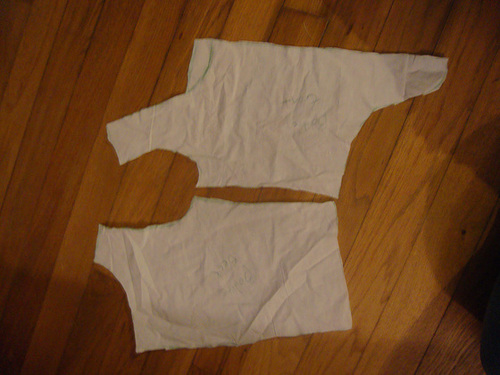
Now, to make it lace at the back sides, you need to make a new front bodice piece.
Fold the back bodice piece back to create a smooth line from the back strap to the back waist line. Place this and the front bodice pattern you just created on to the muslin again.
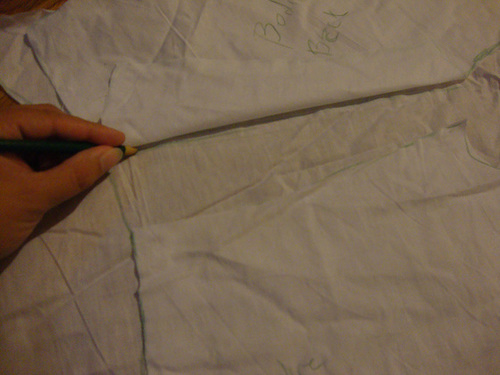
Trace the new folded edge of the back piece and draw a line to the waist edge of the front piece. Re-trace the rest of the front piece and follow with extending the armsyce curve to the new folded edge - creating a new front piece.
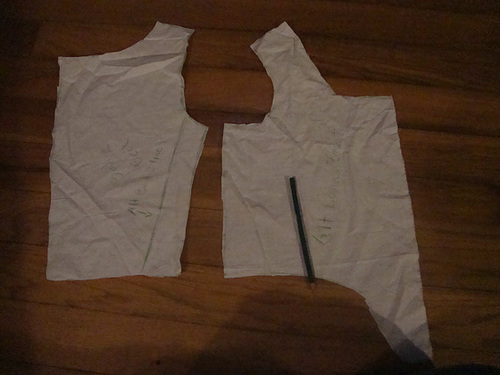
This is the new front piece shown with the bodice back. I just draw a line to show where I folded the back piece. There really isn't a reason to waste more fabric and create a whole new back piece.
You can play with necklines and use this "new" pattern to make a variety of styles. However, without the darts and princess seams, the pattern is now a lot closer to something they would have used in period to create a dress or gown. It's not perfect - the neckline is too low in the original pattern (I raised it up when I traced to create a square neckline which is why you see a curvy green line beneath the straight neckline of the new bodice front) and the back should probably be a bit lower as well. However, this is a thousand times better than the original for creating garb that you will wear for years to come.
I hope that helps! Please feel free to ask questions or add comments below.
0 comments:
Post a Comment