Luckily, the stays fit.
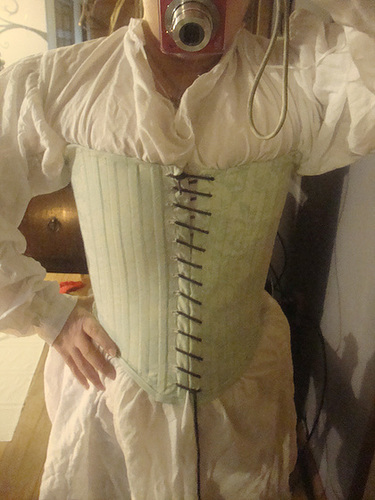
:-)
Here's a picture of the pattern after I drew out each of the channels that I later ignored almost completely:
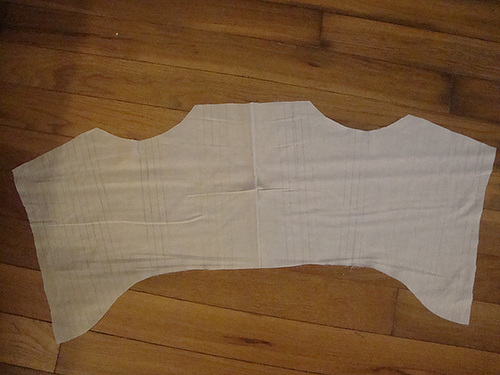
I accidentally drew the front channels wrong so I ended up just using the sewing machine foot as a gauge. Once I had sewn the the front sides together, leaving the bottom of the pair of bodies open, I turned it and used the front edge as part of the gauge. The sewing machine foot was always a couple of mm from the previous line and the previous line acted as a ruler. I hope that makes sense! Anyway, it worked out and I half boned it since I don't need it to be super structured.
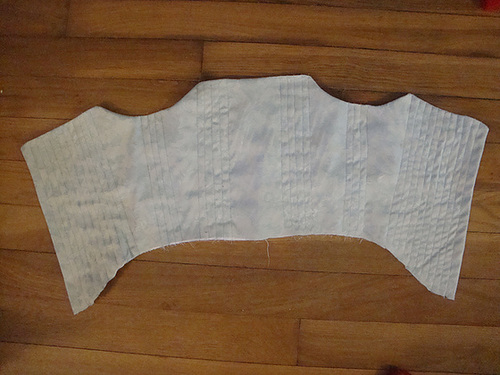
The picture above is after I added each of the channels and before I added the bias tape to the bottom.
You would not believe how much of that blue brocade I have.....or how much I've used. Or how little I bought it for.
Anyway...
I realized I didn't really have enough time to draft a proper pattern, get it fitted, mocked-up, and all the little things I would need to do before even thinking about cutting out the velvet...so I cheated.
I've used McCalls Tudor Rose Pattern 3282 before with successful results. It needs tweeking but it's overall a decent pattern. I drafter out the darts and princess seams, made the bodice into three pieces (a front and two back pieces), and used the same upper sleeve pattern. The lower sleeve pattern was dictated by the fur sleeves I made earlier in the week.
By drafting out the darts and princess seams, the pattern is closer to what would have been worn in period and helps me to create the proper period silhouette. Okay, here comes the fun part - After cutting out the bodice and sewing up the shoulder seams on the machine, I had to figure out how to give a look of it being fur lined without it being fur lined.
I hand sewed a bit of real fur trim (it's from that cutter coat lot I think I talked about in my last post) to the neckline of the velvet. It took a good couple of hours to get it right. I then took the muslin lining (I'm not going for 100% accuracy, just the correct look) and overlayed it to the fur edge velvet bodice.
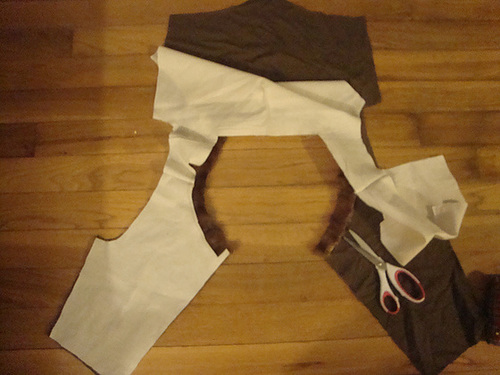
I had to cut away the top edge of the the fur edge will on "peek" out of the neckline to make it look like the bodice itself is fur lined even though it's not. Once I sewed up the lining to the bodice and made it all bodice shaped, it looked like this:
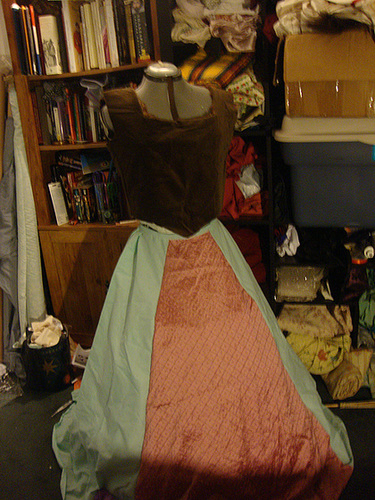
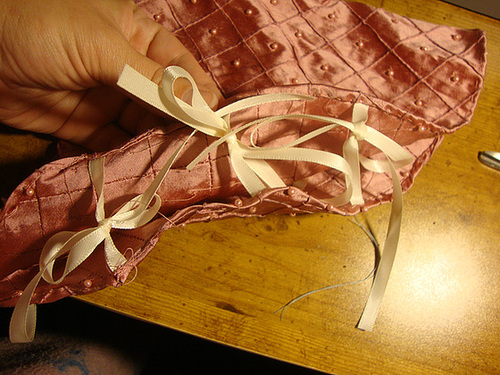
Yay! So I had a bodice and a forepart by that point. The forepart was easy - cut out a nice big trapezoid shape of the pretty fabric and sew it to the el-cheapo fabric that no one will see once the gown is on. I did have to hand sew the pink silk to the cheap fabric because sewing machines and beaded fabrics do not mix. Ever. I like my sewing machine and I like my hands to not have pieces of a needle in them so, therefore, I didn't even bother trying to machine sew that. The hem to the forepart is even hand sewn down.
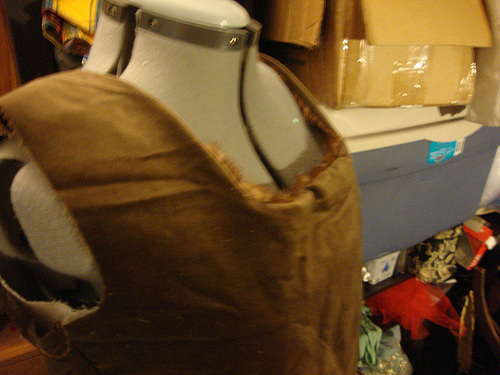
A blurry close up of the bodice before I put on the sleeves.
After that, I had to sew up the sleeves, which meant adding the fur to the upper cotton sleeve lining, sewing up the velvet sleeve, matching up all the edges, sewing the velvet to the fur (that was an interesting experience), and then making sure the sleeves match well enough to inset them into the bodice armsyce.
I also sewed up the skirt (I did very large trapezoids because I didn't want too much bulk at the waist with all the velvet), pleated it, attached the fur trim to the front the gown, pinned it, sewed the skirt to the bodice and...
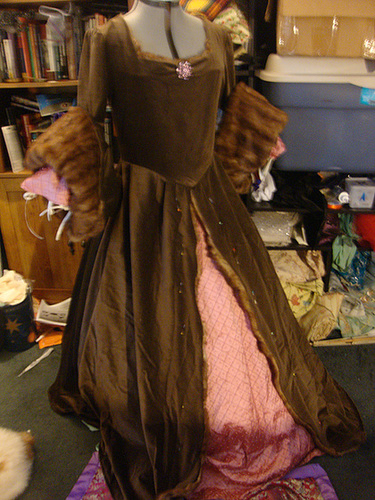
...Oh, yeah, I also hand sewed the faux undersleeves you can probably just make out in this picture.
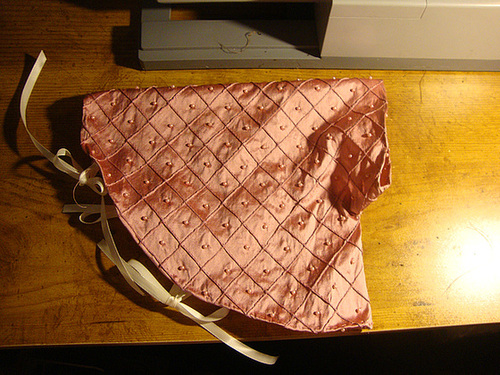
This is a much better picture of one of them.
This picture is much clearer but without the faux undersleeves. The pins on the front are just where I need to tack down the fur trim to make it look like the skirt to the dress is also fur lined.
All I need to do is finish up the inside, add some lacing holes or some sort of closure to the back, and tack down the trim - oh and sew up the French Hood!
0 comments:
Post a Comment